The Foldr server can be run on-premise or in various cloud platforms, such as Microsoft Azure as a virtual machine. Virtual machines in Azure use the .vhd and .vhdx Hyper-V disk format.
Download the latest Foldr-latest-HV-G1.zip file using the link provided by Foldr support and extract the VHD to a suitable location on the local machine.
Deploying Foldr in Azure
First, log into the Microsoft Azure portal at https://portal.azure.com with a suitable administrative account
Create the Storage Account (v2)
Create a storage account if one does not already exist by creating the resource from the Azure portal home screen. If a suitable storage account already exists, skip to upload image section.
Click Create a resource
Click Create

Complete the create Storage Account screen, selecting a suitable Subscription and Resource Group. Give the instance a name, and select a geographic region that applies to your deployment. Other options regarding redundancy, performance and networking can be configured as required. The default values are acceptable.
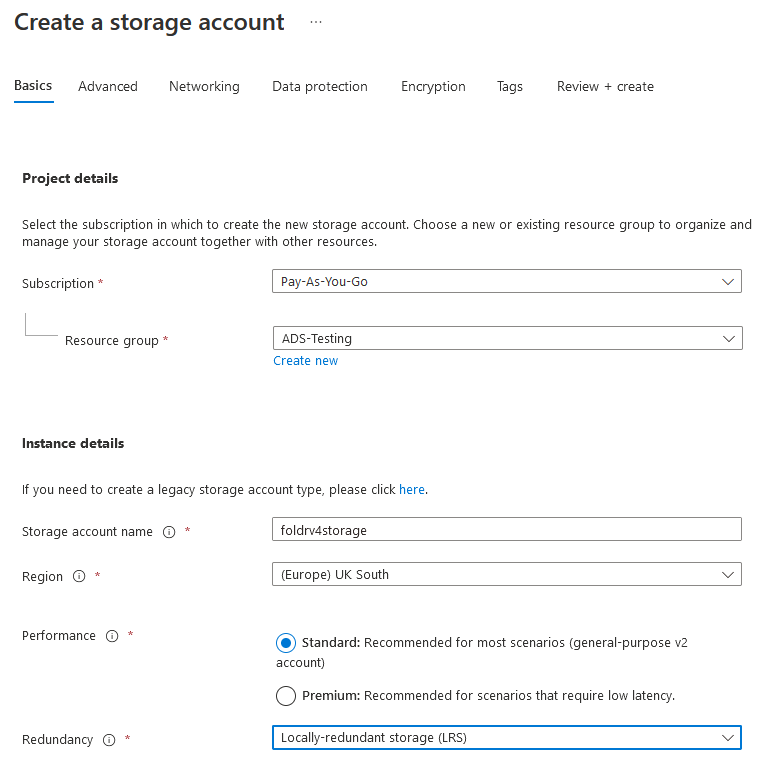
Click Review + Create
![]()
A validation passed notification should be displayed.
![]()
Click Create
![]()
A deployment in progress prompt will be displayed. After several minutes the storage account will be ready.
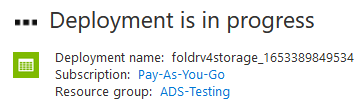
Once complete, click Go to Resource
![]()
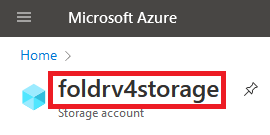
Make a note of the Storage account name in the Overview panel. This will required later when the Foldr image is uploaded.
Create an access key by clicking Access Keys in the left hand panel
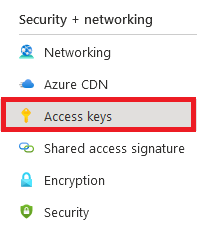
Then, click Show Keys.
![]()
Copy the value displayed from Key 1. This will be required in the next step.
Upload the Foldr VHD and Create Image
Azure requires the virtual hard disk to be fixed in size rather than thin provisioned / dynamic. You can use alternative methods to upload to Azure using native MS PowerShell commands or other tools, but in this case the full 100GB VM disk would need to be uploaded, which is an unnecessary waste of bandwidth/time. As such we recommend using a third-party tool below to upload the image to Azure, only 6GB will be uploaded and the rest of the empty space on disk is not included.
– Download Go from https://go.dev/dl/ for your platform and install the application. Windows screenshots will be shown in this example.
Once installed, open a command prompt (or macOS Terminal) and run the command:
Windows:go install github.com/Microsoft/azure-vhd-utils@latest
macOS:go get github.com/Microsoft/azure-vhd-utils
Next, with the foldr.vhd file accessible on the local machine, use the following command to upload it to the Azure Storage Account
azure-vhd-utils upload --localvhdpath /path/to/foldrv4.vhd --stgaccountname <storage-account-name> --stgaccountkey "<account-key>" --blobname foldrv4.vhd
Replacing <storage-account-name> and <account-key> as required.

It will compute the MD5 checksum, before proceeding with the upload:

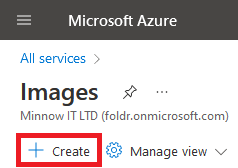
Once the upload has completed, go to the Azure portal home screen > All Services > Images. Click + Create
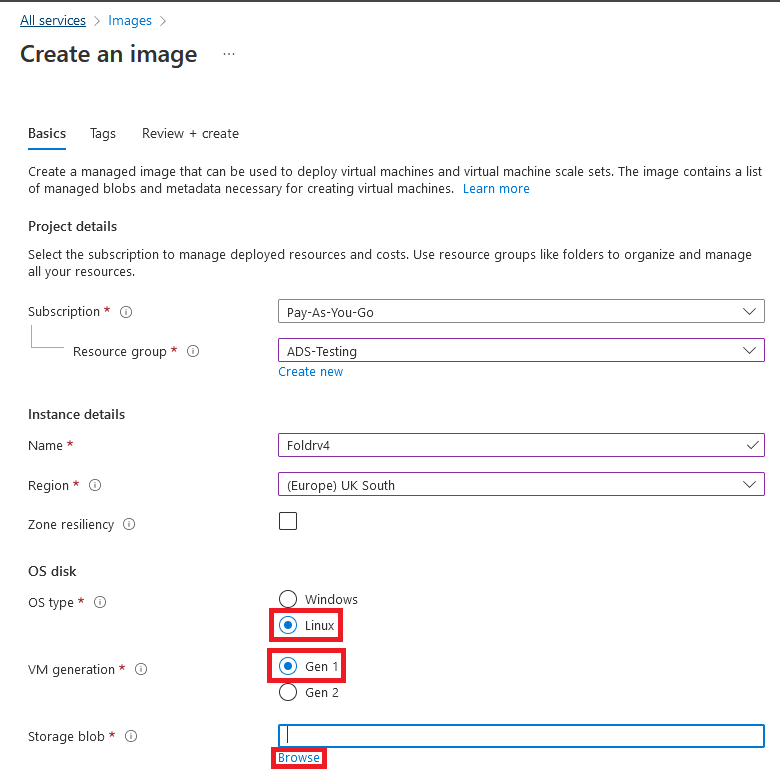
In the Create an Image screen, give the Instance a name and select a suitable Subscription, Resource Group and Region.
Select the OS type as Linux, Generation 1 and click Browse to navigate to the Storage blob (foldrv4.vhd)
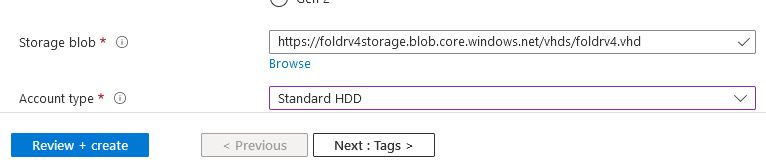
Select the Storage account and select foldrv4.vhd uploaded earlier

Click Select and then Review + create
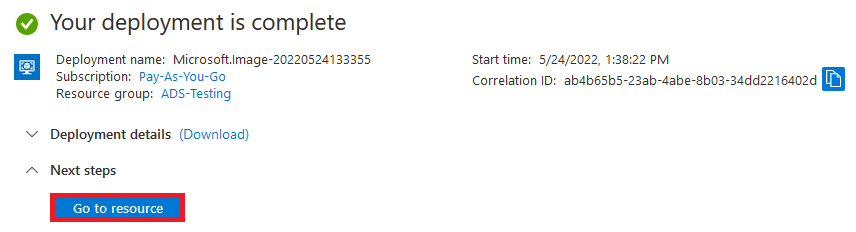
The Image will be deployed. Once complete, click Go to resource (alternatively, go to Azure > All Services > Images and select the image just created)
Create the Virtual Machine
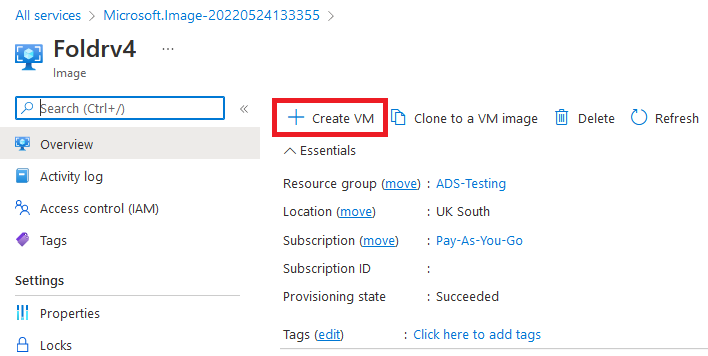
From the Azure > Images panel (and selecting the image just created) – Click + Create VM
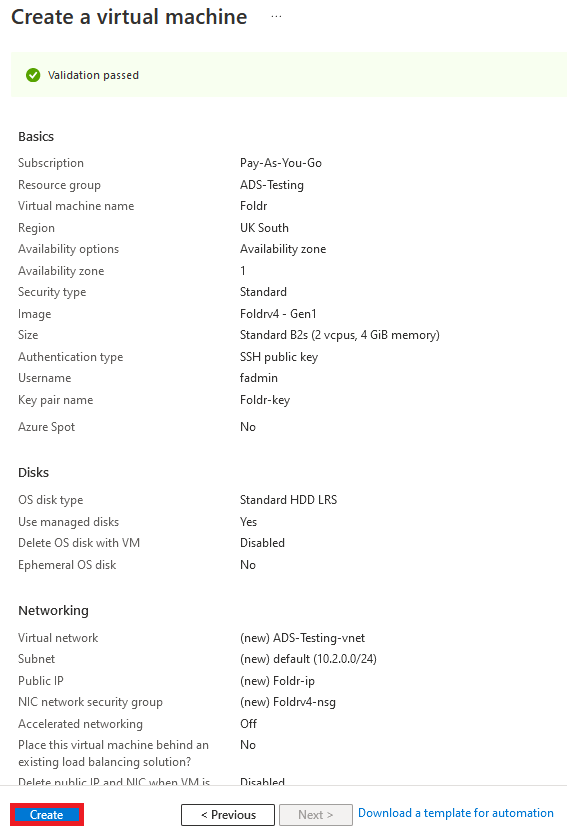
Complete the New Virtual Machine options, giving the VM a suitable name and selecting Subscription, Resource Group, VM Size (2vCPU and 4GB RAM recommended – if a VM type of less than 2GB RAM is selected, it will result in the web server service in the Foldr VM failing to start correctly).
Note – The authentication type may be SSH public key, or password may be used – create a username and password if the latter option is used.
Select suitable disk type/performace required (standard HDD is fine, but you may require the additional performance of SSD)

In the create Virtual Machine panel, scroll down to Administrator account and under Authentication type, select Password
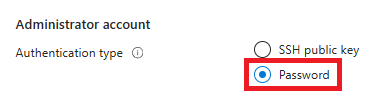
You will be prompted to create a user account username and password, however these can be discarded and won’t be usable after deployment.
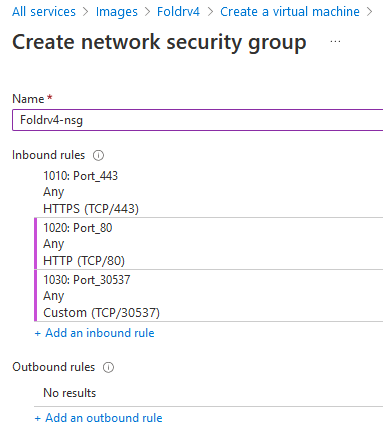
On the Networking tab, create a new virtual security group. Select Advanced > Create New
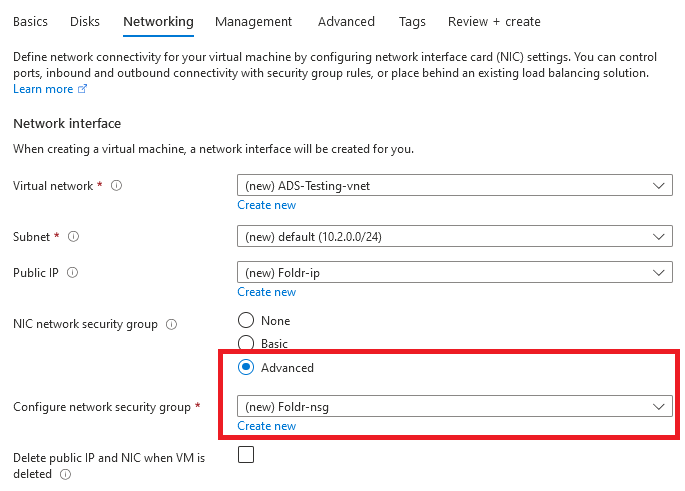
The following network ports (TCP) should be configured INBOUND
TCP 80 – HTTP – This is optional, but recommended. Users sessions are automatically redirected to HTTPS, but opening HTTP inbound will enable the use of Let’s Encrypt fully validated SSL certificates at no charge.
TCP 443 – HTTPS (user sessions)
TCP 30537 – HTTPS custom port for Foldr Settings (web admin)
TCP 2082 – SSH custom port
Once you confirm the selection, a summary window will be displayed, click Create
After a few moments the VM will be created and accessible under Azure > All Services > Virtual Machines. Click the virutal machine and its public IP address will be visible
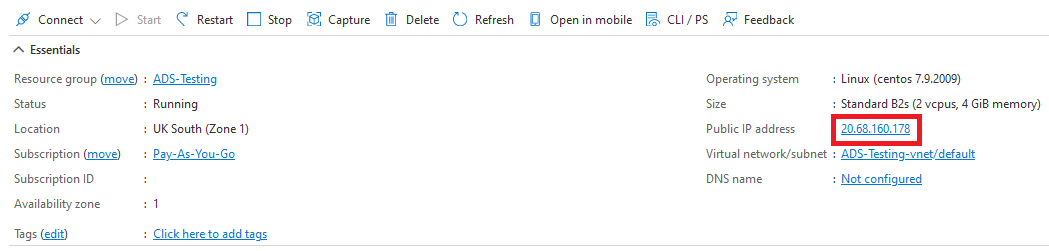
The first time Foldr is powered on, it will go through an initial setup routine and after a few minutes it should be reachable at its public IP address.
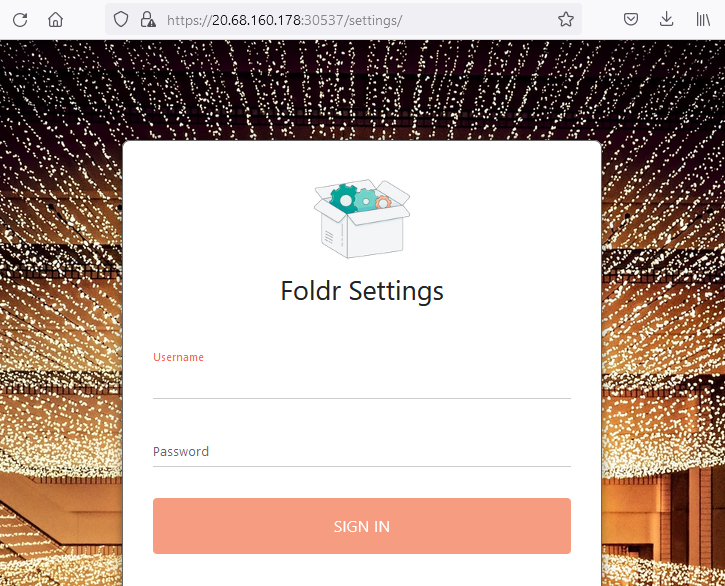
Foldr Settings (web admin UI) – https://address-of-foldr:30537/settings
Main user web app (note, this not functional until a licence key is applied) – https://address-of-foldr
It is recommended that the administrator sign into Foldr Settings and change the fadmin account password immediately via the top-right menu in Foldr Settings.
IMPORTANT – Once the server has been deployed successfully, the administrator must connect via SSH (port 2082) and sign in fadmin resize the VM disk to allow the server to use its full capacity issuing the console command:
expand-disk
Failure to do this will limit the Foldr server to a 10GB disk. Once this has been done the SSH port (TCP 2082) can be removed from the associated inbound security rules in Azure for the relevant Network Security Group attached to the VM.
The deployment is now complete. Foldr server can now be configured in the Foldr Settings browser interface and a suitable public DNS host record should be created and an SSL certificate installed, either using the Let’s Encrypt service (at no cost), or a paid-for certificate from a recognised certificate authority.