Foldr server v5.0 supports UEFI and secure boot options. The Foldr server for Hyper-V is provided as a generation 2 compatible .vhdx format which is around 6GB in size but configured to dynamically grow to a maximum size of 100GB. Note that the disk must be expanded (see below) when the system first boots.
The VM will default to EFI firmware type for boot, and secure boot can be optionally disabled if required.
Deploying the Foldr server
First download the latest Foldr server VHDX file using the link provided by your reseller or Foldr support. Extract the .VHDX from the .zip file to a suitable location on your host
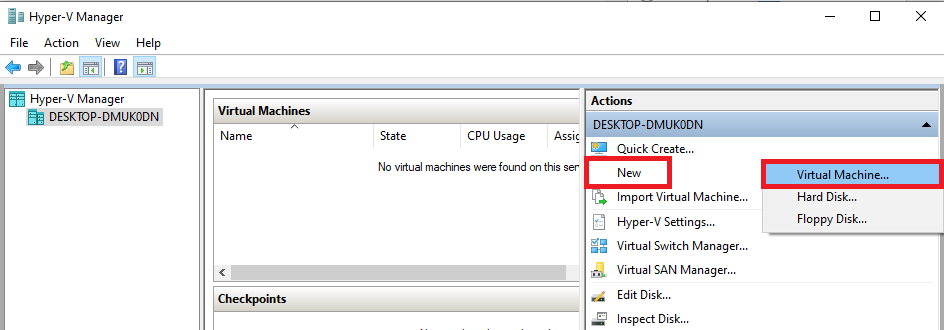
Open Hyper-V Manager and create a New > Virtual Machine
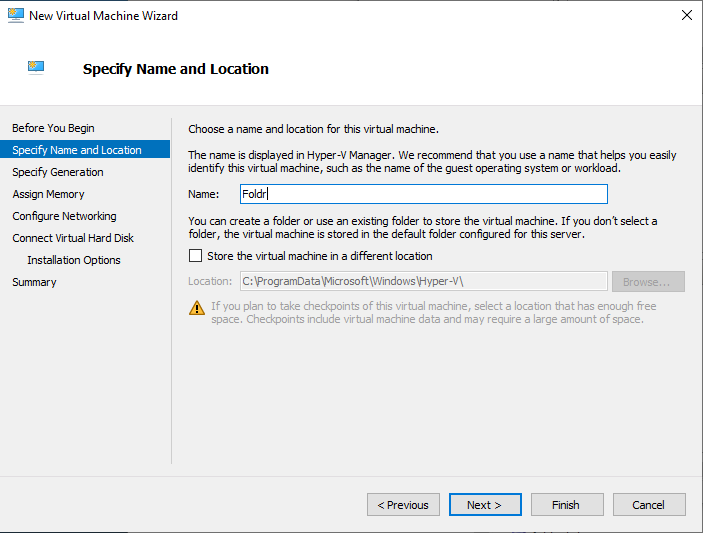
Give the Virtual Machine a Name and optionally select a location to store the VM configuration files
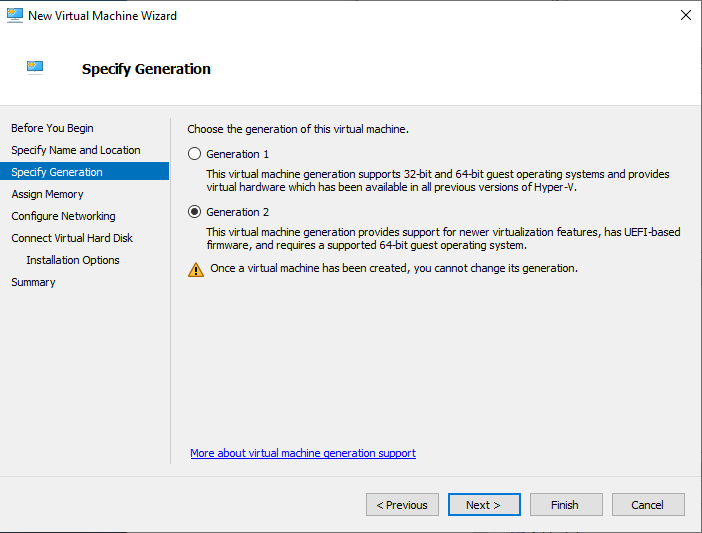
Select Generation 2 (supports UEFI)
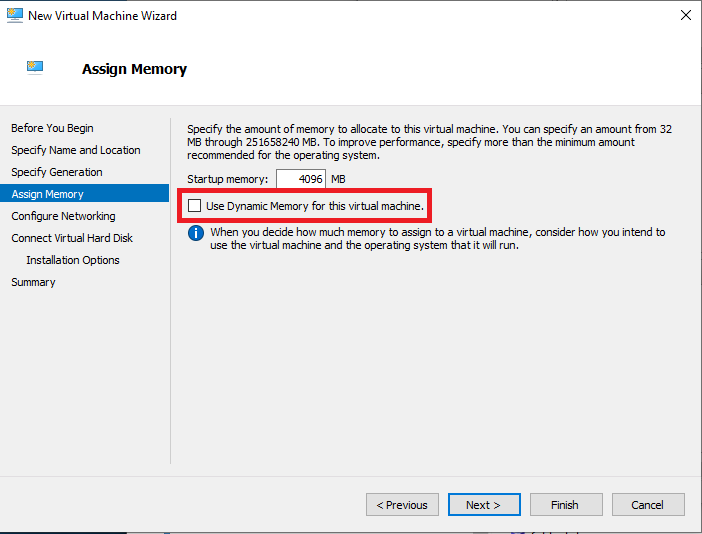
Configure the startup memory with a minumum of 4096 MB
Important – ensure the ‘Use dynamic memory for this virtual machine‘ in unchecked as shown below
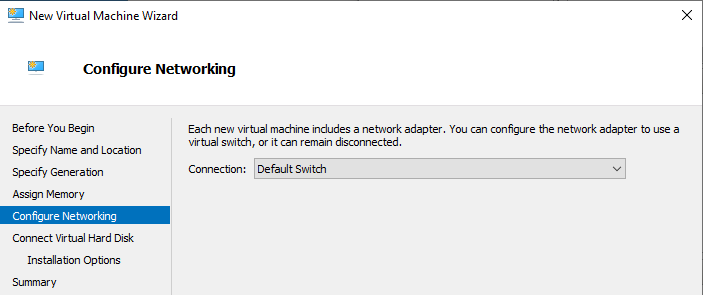
Select the appropriate virtual switch connection
Select the middle radio button labelled ‘Use an existing virtual hard disk‘ and then click Browse
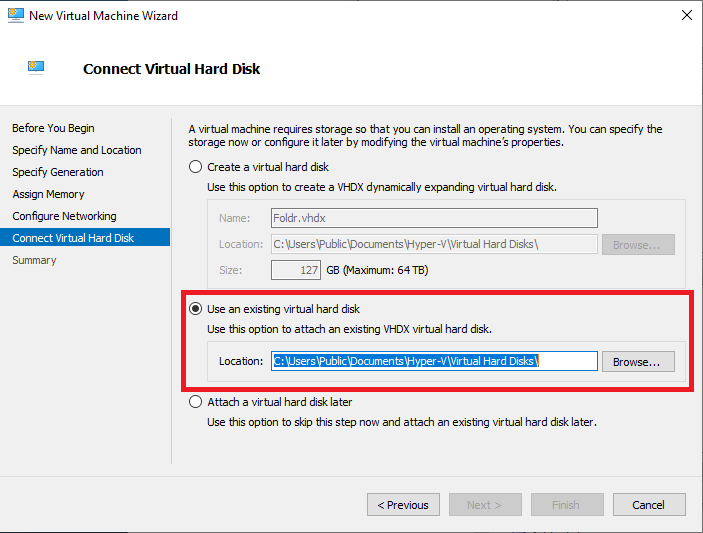
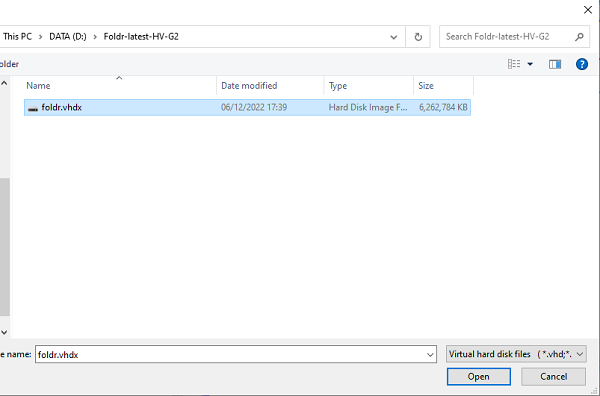
Browse to the extracted foldr.vhdx file and click Open
Click Finish and then go into the VM Settings by right-clicking on the virtual machine and selecting Settings in the context menu

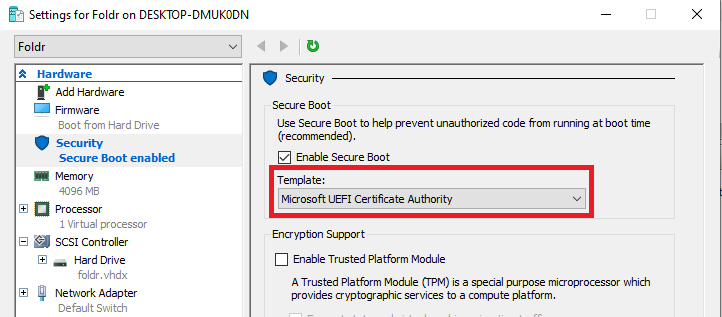
You should now change the default secure boot template, which defaults to Windows.
Select Security in the Settings dialog

Under Secure Boot, change the Template from Windows to Microsoft UEFI Certificate Authority
Click the Processor tab on the left of the Settings dialog and increase the number of virtual processors to a minimum of 2
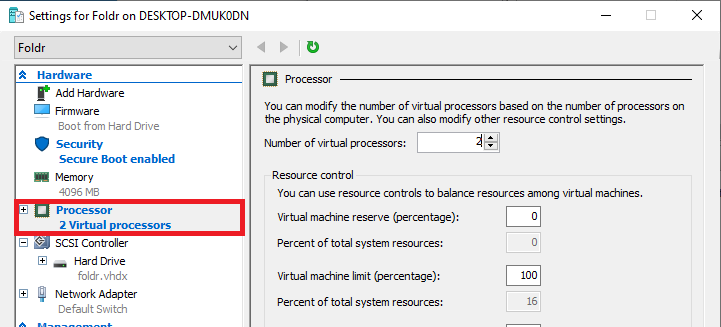
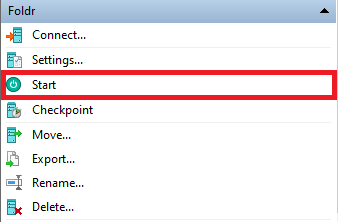
Click OK to confirm the changes. The virtual machine can now be powered on using the Start option (bottom right of the Hyper-V Manager interface) or via the VM context menu > Start
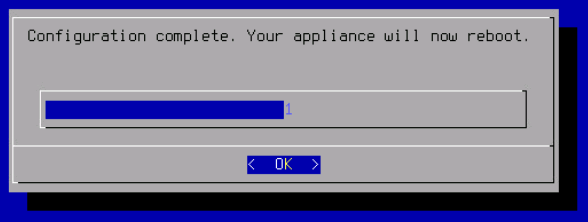
The server will go through a one-time setup routine automatically after which it will reboot.
When the server setup is complete, the system will arrive at the following console screen
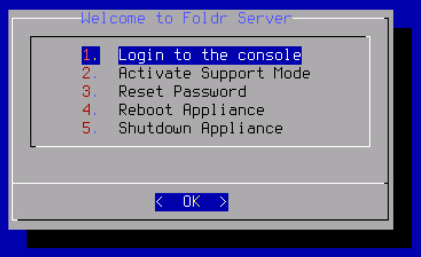
Log into the Foldr console by selecting (hit Enter) on option 1 on the menu screen. Enter the fadmin password as ‘password‘ (no quotes) and hit Enter
Now, run the command:
expand-disk

Confirm the changes at the prompt with y and hit Enter

The server will now reboot. Once the system has booted fully and arrives at the console screen, its IP address (obtained by DHCP) will be shown at the top of the console screen.
![]()
Browse to the Foldr Settings (admin web interface) at https://address-of-foldr/settings (redirects to :30537/settings)
Sign in using the default admin credentials:
Username: fadmin

Password: password
The disk size can be confirmed in the Appliance tab (top-left > System tab
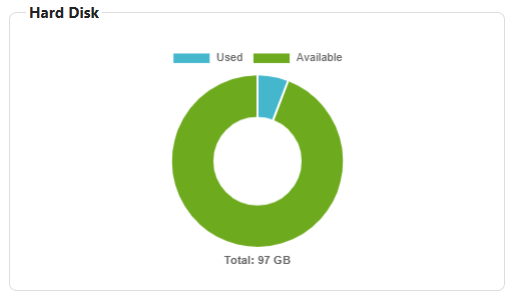
The server is now ready to be licenced and configured.
Troubleshooting Secure Boot
If the VM takes a long time to boot and eventually displays the following screen, this is due to the VM using the wrong Secure Boot template (Windows)
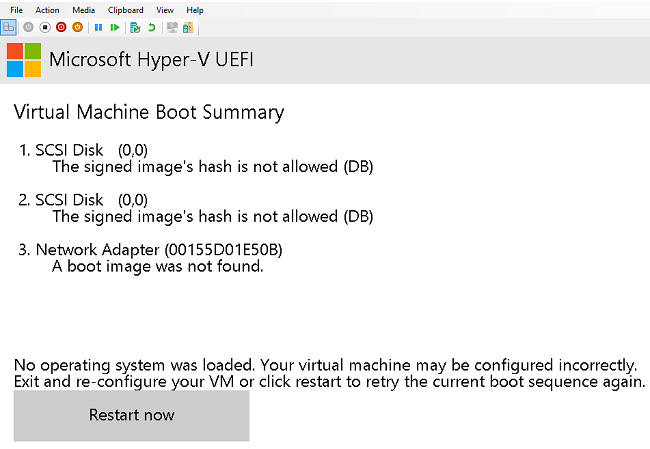
Power off the virtual machine, go into the VM Settings menu > Secure Boot and change the template from Windows to Microsoft UEFI Certificate Authority.

Click OK and power the VM on. The Foldr virtual machine will now boot correctly.