Inbox is a powerful feature that allows an organisation to use Foldr as an automated mechanism of receiving email attachments and placing them onto a chosen storage location. This can be any location available through Foldr such as an on-premise SMB share or cloud platform such as Google Drive or Dropbox. Users that have been granted permission can enable any shared folder to receive files through the Inbox feature. Each shared folder is given a randomly generated email address or the user can create a suitable custom address.
The email addresses generated by Inbox are typically in the format email-address@foldr-appliance-fqdn
For example:
invoices@demo.foldr.io
When emails are received by the appliance, they are processed and the attachments are moved into the corresponding shared folder. An entry is then placed into the user’s Activity Feed and the body of the email is accessible using a link provided in the feed.
SMTP and TLS
The Foldr appliance receives inbound email on TCP port 25. However, only encrypted SMTP connections will be accepted and processed by the Inbox feature. Plain text SMTP connections will be discarded. The SMTP service running on the Foldr appliance upgrades the connection from plain text SMTP through the STARTTLS command.
Enabling Inbox on the Appliance
1. Open the SMTP port the appliance firewall (IPtables)
The SMTP service is already running on the appliance, however without modifying the built-in firewall the system will not receive email. As such, TCP port 25 needs to be permitted as required for your environment. Normally Foldr sits behind a perimeter firewall where you would specify what locations email can be accepted from, however this can also be done from the appliance. To do this from Foldr issue the following commands from the system console:
Accept email from any location
iptables -A INPUT -m comment --comment "foldr-admin" -i eth0 -p tcp --dport 25 -j ACCEPT
Configure Foldr to only Accept Email from a third-party Mail Gateway
In most cases, the administrator should configure the appliance to only accept email from the third-party email security gateway that is forwarding mail to the Foldr server (Office 365 mail protect, Trend HES etc). You can find the IP address block/ranges for third-party email gateways on their support pages.
A list of commonly used email gateway IP address ranges can be found here:
Office 365 Mail Protect – The addresses required are listed against *.mail.protection.outlook.com
Mimecast – Note that you must be signed in to access the link
Example – Accept email only from subnet 52.48.127.192/26:
iptables -A INPUT -m comment --comment "foldr-admin" -i eth0 -p tcp -s 52.48.127.192/26 --dport 25 -j ACCEPT
Should you need to enter multiple subnets, simply issue multiple separate commands as above.
Once you have configured the firewall as required, save the changes with the command:
iptables-save
Should your firewall rule allow it you can test SMTP (port 25) is available by using telnet:
telnet foldr-address 25
If the system is accepting connections it will display a 220 ready for transmission message:
2. Enable the ‘Receive Email’ permission on shares for users
As with Share and Public Links, Inbox uses a separate permission entry available on each share configured on the Foldr appliance labelled Receive Email. As such you can enable this feature en-masse for all users by granting ‘Receive Email‘ permission to the built-in Foldr Users group, or select individual users or security groups as required.
Note that the ‘Share with others’ permission is also required in the Sharing tab
Foldr Settings >> Shares >> Share Name (Double Click) >> Permissions:
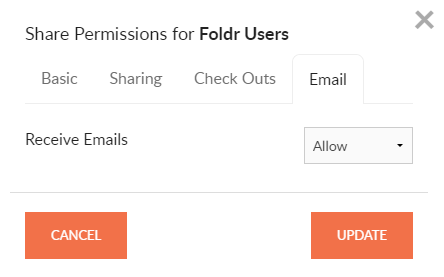
Users that have been granted the Receive Email and Share permission will now see the Inbox tab in the Sharing dialog in the web interface.
Routing Email from the Internet to the Foldr Appliance
Domain MX record(s) need to be created so email sent to the correct host (Foldr)
Whilst you could direct email (the MX record) directly at Foldr, it is common practice that email is sent through an email security product / third party service, such as a hosted security provider that processes email before sending it onto the intended recipient server. The example below shows this and points the MX record for email sent to @demo.foldr.io at a Trend Micro cloud security product which has been configured to send mail onto the Foldr appliance.
Please note that you cannot point an MX record at an IP address, it should always point to a host, which in turn has an A record pointing at the corresponding IP address.
Example of editing the public DNS zone file:
![]()
The ’10’ prefix in the example shown is a priority value, with zero being highest priority. More information on MX records and priorities can be found here https://en.wikipedia.org/wiki/MX_record.
There may be other mechanisms in place inside the organisation to route email internally. The above is given as a basic example of creating a public MX record to allow mail to flow to the Foldr appliance. If Inbox is only to be used inside the organisation, it is not necessary to make any changes to the public domain DNS.
Security Considerations (Spam, Virus & Malware)
The Foldr appliance does not provide any form of anti-spam, virus or malware scanning on mail that is received. You should ensure that mail flows through a third party provider or appropriate security product to perform this functionality before email is received by the Foldr server.
Using Inbox – Web app
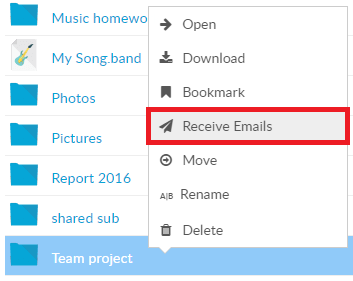
On the folder that will be receiving the email attachments / message body using the context menu and select Receive Emails.
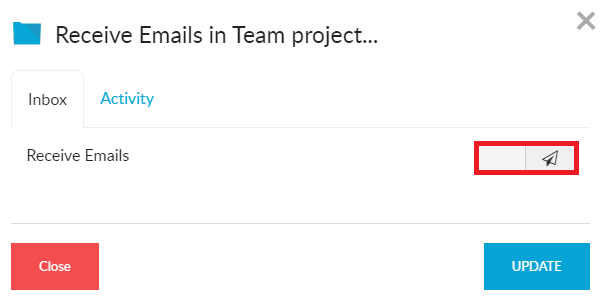
Alternatively navigate into the folder to be shared and click the share icon (top right)

Click the Inbox tab and enable the toggle for Receive Emails
This will present you with options for the path rule (where and how to save the attachments), built-in variables to assist building a path rule, whether the message body should be saved along with the attachments and finally if a custom address should be used.
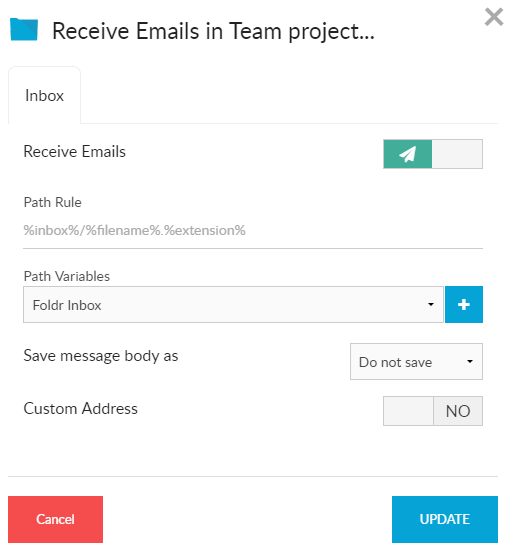
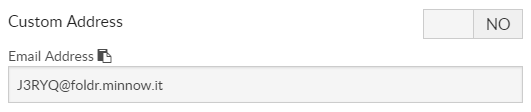
If the Inbox dialog is left with the defaults and you click UPDATE, the appliance will create a randomly generated email address as shown below
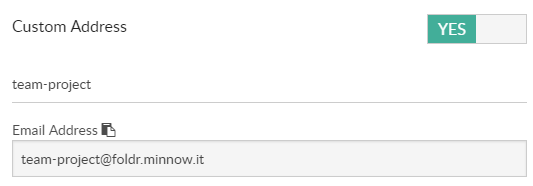
Using a custom email address
It may be preferable to use a custom email address rather than a randomly generated string as the email address for the shared folder. To use a custom address toggle the switch as shown below

Spaces may be used in the custom address and these will automatically be replaced by hyphens as shown
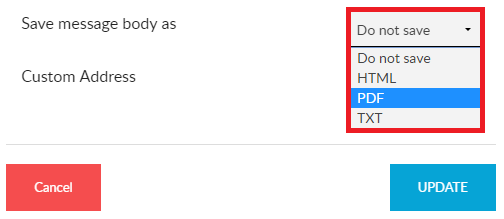
Saving the message body of the email
By default the message body of the email is not saved. However it is accessible to the end user if they click on the link in the Activity panel on the right of the web app. In order to save the message body alongside any files that may be attached to the email use the drop down menu as shown selecting the file format that the body should be saved in.
‘
Path Rules
You can change the Path Rule for the attachments that are received (i.e. how they are saved within the shared folder). By default, when the first email with attachments is received a directory will be created automatically in the root labelled Foldr Inbox and all attachments will be dropped directly into the root of this directory.
This is represented by the default path rule below. You do not need to type over the placeholder text if this rule is suitable.
%inbox%/%filename%.%extension%
Default path rule example – An email with a single attachment is received (called may-invoice.pdf) and would be saved as:
Share-Name/Invoices/Foldr Inbox/may-invoice.pdf
Should another attachment be received with the same name, ‘copy’ will be appended to the attachment filename.
Using the path rule variables below, it is possible to set custom rules for attachments that are received so they can be organised automatically as required. This could include creating a sub folder for each sender, file type, date received etc:
Available Path Rules for Attachments
%inbox% (maps to “Foldr Inbox”)
%sender_address%
%sender_display%
%subject%
%date%
%time%
%filename%
%extension%
Example 1 – Create a sub folder for each sender’s email address to store their received attachments
%inbox%/%sender_address%/%filename%.%extension% = Foldr Inbox/sales@minnow.it/may-invoice.pdf
/Example 2 – Create a sub folder for each sender’s name, with attachments sorted by file type
%inbox%/%sender_name%/%extension%/%filename%.%extension% = Foldr Inbox/Grace Hopper/pdf/may-invoice.pdf