The Foldr server provides signed SSL certificates at no cost via the Let’s Encrypt certificate authority that can be installed quickly and easily. Follow this link to find out more. However, there are some requirements for a Let’s Encrypt certificate installation, as opening HTTP (port 80) inbound to the server and ensuring no HTTPS inspection is running on the customer firewall/filter between Foldr at Let’s Encrypt.
Where local firewall policies/filtering or network environemtn make using Let’s Encrypt not viable, you can instead use a standard paid-for signed SSL certificate from a traditional Certificate Authority (such as Godaddy, Sectigo or Digicert etc).
A standard domain-validated SSL certificate to cover a single site (common name) is all that is required, however any SAN/UCC or wildcard certificate may also be used.
The steps required:
1) Generate your Certificate Signing Request (CSR) and Private Key pair.
This can be done several ways but a quick/easy route is to use the Easy CSR tool on the Digicert website which will produce a single command to run which will use a locally installed version of OpenSSL to generate your CSR and private key.
Digicert Easy CSR – click here
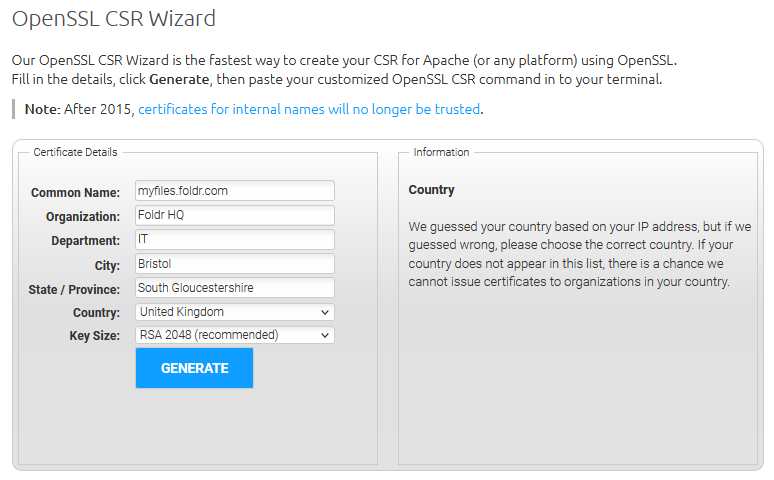
2) Complete the required fields relevant to your requirements and organisation. and click Generate. In the
NOTE – The Common Name is the public URL of the site that you are intending to protect with the certificate (the Foldr server). In the example below, the Foldr server is going to accessible at https://myfiles.foldr.com
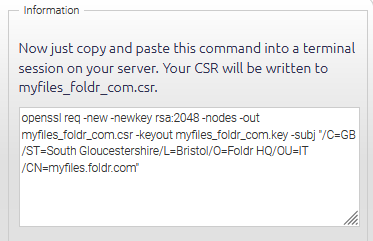
3) This will output the required OpenSSL command to generate a CSR and Private Key pair. Copy the command to the clipboard.
4) OpenSSL is available by default on macOS and most Linux installations. If using a Windows workstation, OpenSSL must be first installed separately and can be obtained here – the smaller ‘Light’ version is fine for this purpose.
Run the OpenSSL command in Linux/macOS Terminal as given.
For Windows systems, open an elevated command prompt (run as Administrator) and cd to \bin inside the OpenSSL directory (C:\Program Files\OpenSSL-Win64\bin)
Then paste the command shown in Digicert EasyCSR as below:
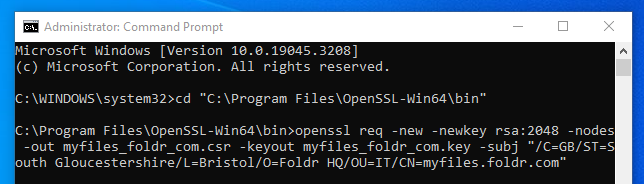
Hit returns and the command prompt will display as below. Note, other/older versions of OpenSSL may display different output.
The certificate signing request (CSR) and Private Key will be created in the working directory. On a Windows system the files generated will be available in the /bin directory (C:\Program Files\OpenSSL-Win64\bin)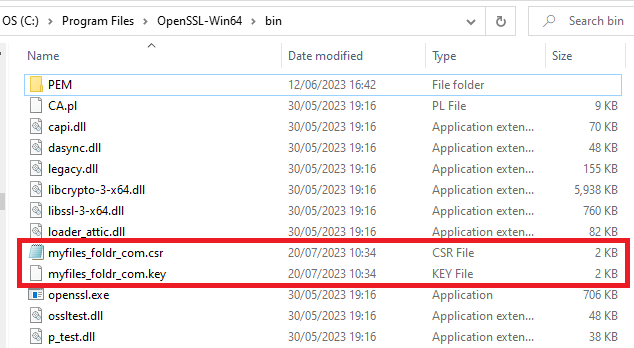
In the example above:
myfiles_foldr_com.csr = CSR
myfiles_foldr.com.key = Private key
5) Move both the private key and CSR to a convenient location, such as the desktop. The private key file should be kept securely and NEVER shared.
6) Choose a suitable certificate provider, such as GoDaddy, Sectigo, GlobalSign and so on and go through the process of purchasing a certificate. To cover a single server (common name) such as Foldr, a basic DV (Domain Validated) certificate is sufficicent.
You will need to send the CSR to your chosen certificate provider as part of the process of requesting your certificate. Do not sumbit your private key file to any third-party and keep this safe as it will be required later.
6) You may need to confirm your ownership of the domain, usually by way of an email to the registered contact of the domain held by the registrar. Other verification methods may be available depending on your certificate provider.
Once you have validated your certificate request & domain ownership, you will usually receive another email to inform you that the signed certificate is ready for download.
There can be a slight delay between confirming your domain ownership and your signed certificate being created by your provider.
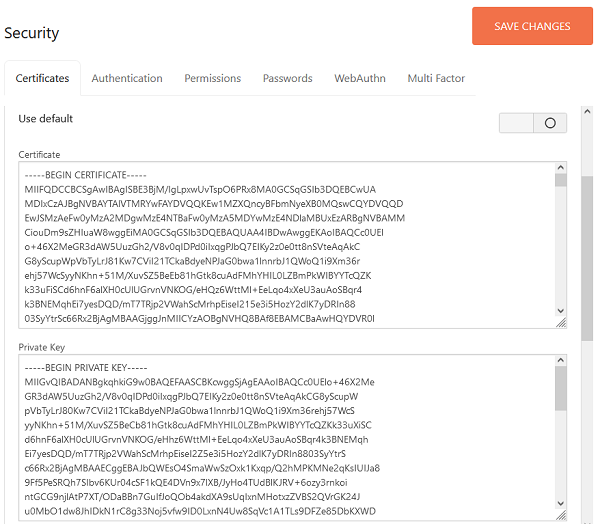
7) When ready and downloaded from your certificate provider, open the signed certificate and private key created in OpenSSL earlier in any text editor such as Notepad or TextEdit and paste into the relevant boxes on the Foldr Settings > Security > Certificates screen.
Untoggle the ‘Use Default‘ switch if your server is still using the self-signed certificate. Once untoggled, the certificate, private key, chain and root certificate boxes will be visible.
Include the –BEGIN CERTIFICATE– and –END CERTIFICATE– sections as shown. If the certificate contains any additional information / headers above –BEGIN CERTIFICATE– these should not be included.
You should also obtain your Certificate provider’s Root and Intermediate Chain certificates from their support portal and paste these in at the same time. Some certificate authorities, such as GoDaddy issue a bundle certificate (which is the CA Root and one or more Intermediate chain certifications combined into a single file) and include this in their certificate downloads from their customer portal.
If using a bundle certificate, you should paste this into the ‘Chain – optional‘ box (third down) and leave ‘Root -optional’ box blank.
8) Click SAVE CHANGES and your certificate will be installed after a few seconds. To protect access to the private key, by design the content of all boxes on the installation screen are shown with no content once save changes has been clicked.
Your SSL certificate installation should now be complete and you will no longer receive warnings in the browser or apps when accessing Foldr via the public URL (Common Name) protected in the certificate. Note that you will always receive certificate trust warnings when accessing Foldr via its public or private IP address, or via some other DNS name not covered by the certificate.
The SSL installation can be verified by using an online validation tool such as https://www.sslshopper.com/ssl-checker.html
If the certificate is renewed the following year, the same private key file may be used to update the certificate. Simply paste the newly issued SSL certificate in the certificate box, and include the private key and root/chain certiticates as required
Configuring the External Hostname
Foldr server release v4.22.1.2 introduces a security feature where the server will reject client requests if the supplied HTTP header header is different than what is configured on the server. This feature is optional and to enable it the administrator should configure the ‘External Hostname’ in the Foldr Settings > Appliance > Network tab.
Where no External Hostname is configured, the server will respond to client requests as normal, regardless of the host header provided.
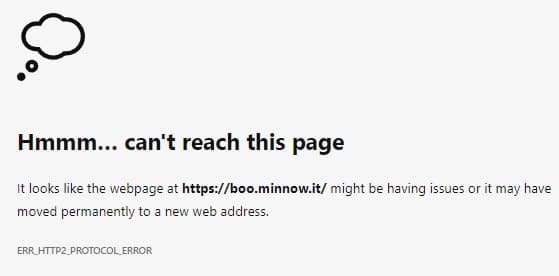
To use this feature, the External Hostname should be set to public/external fqdn of the Foldr server. If this is set to some other value, clients will see the following error (or similar depending on browser/app)