Foldr can operate as a SAML single sign-on Identity Provider (IdP) or Service Provider (SP).
When acting as the SP, Foldr provides the ability for users to log in automatically to the Foldr web app without being prompted for their network credentials. In this scenario, the user is signed into another compatible IdP service such as Active Directory Federation Services. Foldr desktop and mobile apps may also use AD FS for SSO.
Security Considerations – Service Accounts and User Passwords
Active Directory and traditional Windows file services have no concept of SAML or SSO access tokens. As such, when users are signing into the Foldr appliance without directly providing their password to the system, it is not possible for Foldr to provide the usual granular ACL / security permission access to the shares for that user. The administrator has two different options to this problem:
1. Use pre-defined service accounts in the Foldr Settings backend and connect to each configured share with a master service account, ensuring they select ‘Use service account for all access’ on the share configuration screen. This approach does not allow Foldr to respect a users’ actual security permissions and will respect the permissions that apply to the service account user. The administrator can still control read or write access to each share for the service account using the share permissions in Foldr Settings >> Shares.
2. (Recommended) – Prompt users for their password the first time they access the system by SSO. Once the Foldr appliance has the users password, it is encrypted and stored within the configuration database and can then be used for future sessions. A benefit of this approach is that service accounts are not required for access to SMB shares and Foldr can operate in the normal manner of respecting all existing security ACLs on the file servers providing access to the shares / data. You can enable the prompt for network credentials feature when enabling the SSO service within Foldr Settings >> Single Sign-On >> Service Provider.

Configuration
The Foldr appliance must have a signed SSL certificate installed before attempting to integrate Foldr as a service provider with AD FS. If the appliance is using the default self-signed certificate, the integration will fail. Should you need to obtain a signed SSL certificate for your Foldr appliance, consider using the free Let’s Encrypt SSL option available under Foldr Settings >> Certificates. More information is available here
1. Export the Token-Signing Certificate
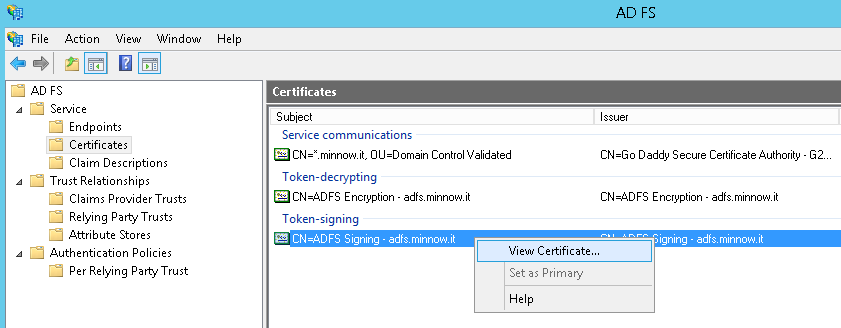
The public certificate used for token-signing in AD FS needs to be installed on the Foldr appliance. To extract a copy of the certificate, open the AD FS management console and navigate to Service >> Certificates.
Right click on the Token-signing certificate >> View Certificate
Click Next >> Details tab >> Copy to File and proceed through the export wizard.

Select Base-64 encoded X.509 (.CER) and click Next
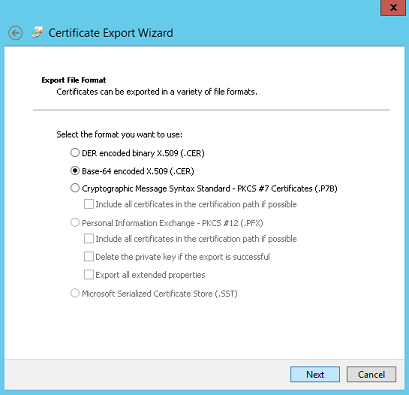
Select an export destination and file name >> click Save to save the certificate
2. Enable SSO on the Foldr appliance and import the token-signing certificate
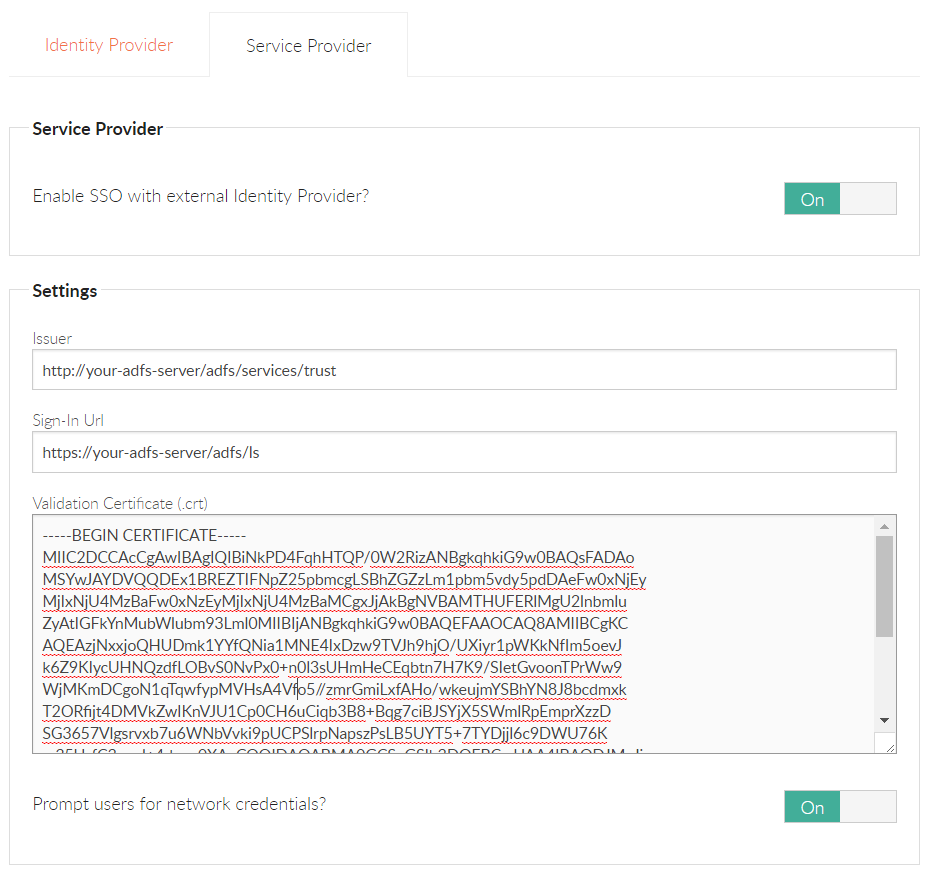
Enable Foldr as a Service Provider within Foldr Settings >> SSO > Service Provider (Example settings for AD FS are shown below)
Issuer = http://your-adfs-server/adfs/services/trust
Sign-In URL = https://your-adfs-server/adfs/ls
Validation Certificate
The token-signing certificate used by AD FS that was extracted above must be opened in a text editor and entered within the Basic section here.
Foldr Settings SSO Service Provider Configuration Screen
3. Add the Relying Party Trust to AD FS
Within the AD FS management console, go to Trust Relationships >> Relying Party Trusts >> Right click >> Add Relying Party Trust
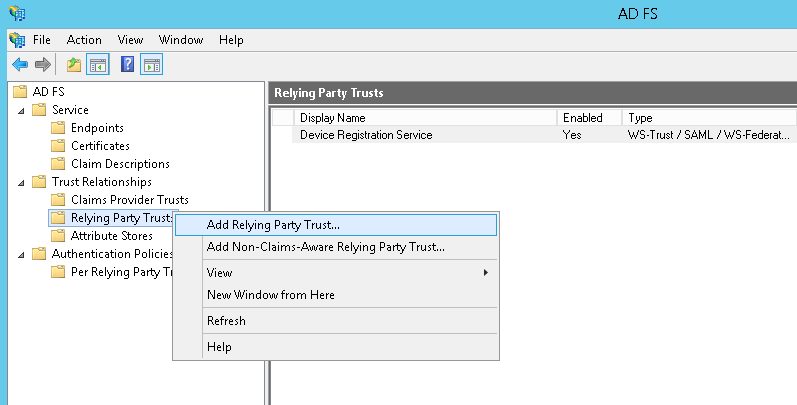
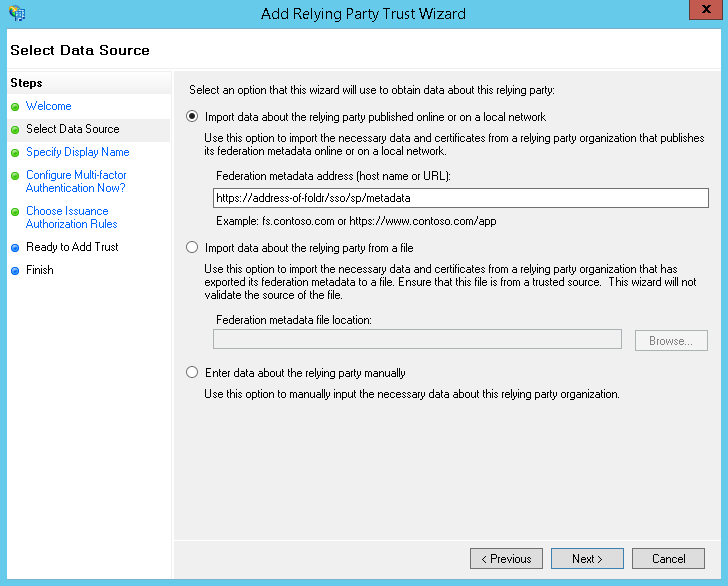
Select ‘Import data about the relying party published online or on a local network’ and enter the Federation metadata address as below and click Next – (replace address-of-foldr with the URL to your installation)
https://address-of-foldr/sso/sp/metadata
Note 1 – A signed SSL certificate must be installed on the Foldr appliance otherwise this step will fail.
Note 2 – Foldr v4 now uses TLS 1.2 exclusively and the Microsoft AD FS Wizard attempts to connect using TLS 1.0 to retrieve metadata. There are various ways of resolving this on the AD FS end so it connects using TLS 1.2, however these are outside the scope of this article. A workaround is to simply re-enable the legacy TLS protocols, import the metadata and then disable them again.
To re-enable TLS 1.0, 1.1 (1.2 will remain enabled) run the appliance console command:
set-ciphers legacy
To disable TLS 1.0 and 1.1 and put Foldr back into its default SSL configuration run the command:
set-ciphers modern
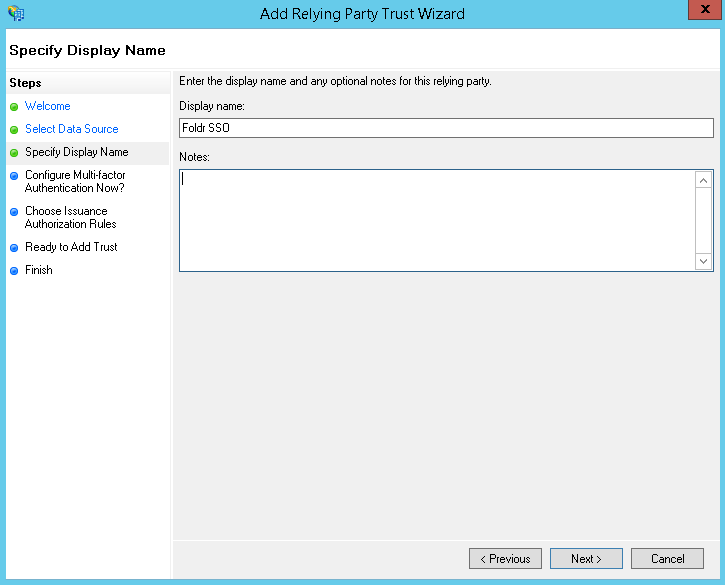
Enter a Display name and click Next
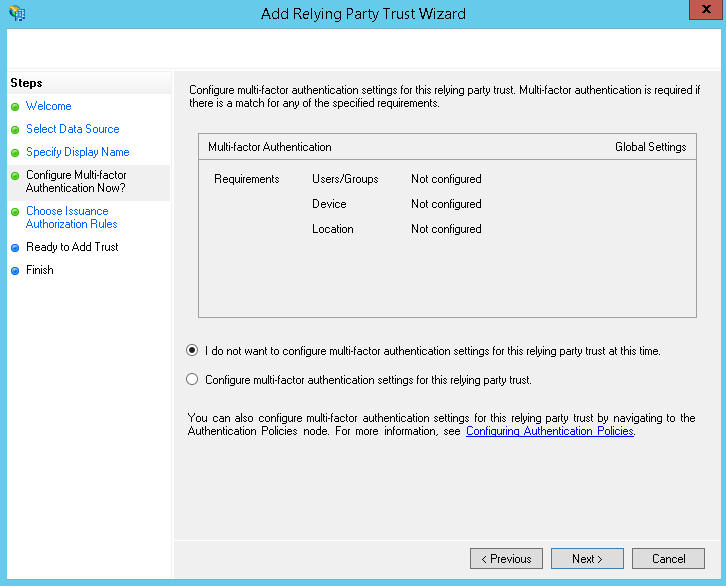
Configure Multi-Factor Authentication options if used, otherwise leave as ‘I do not want to configure..’ and click Next
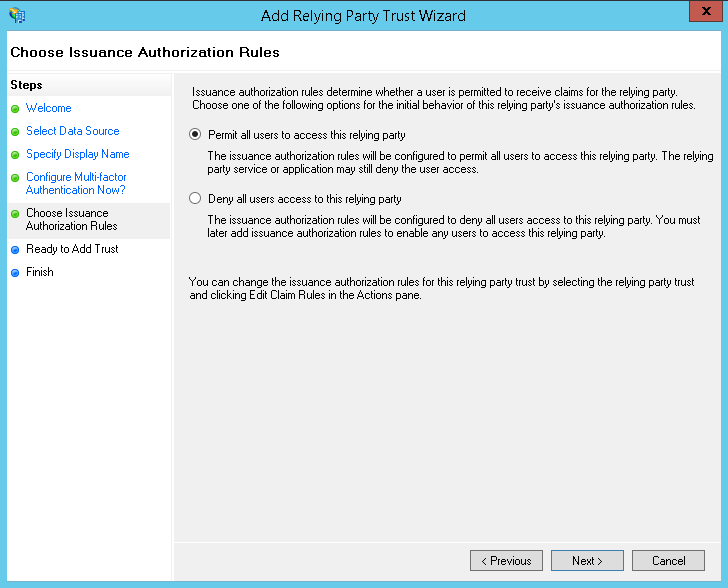
Configure Issuance Authorization Rules as required. Generally, this would be left as ‘Permit all users to access this relying party’ >> Click Next
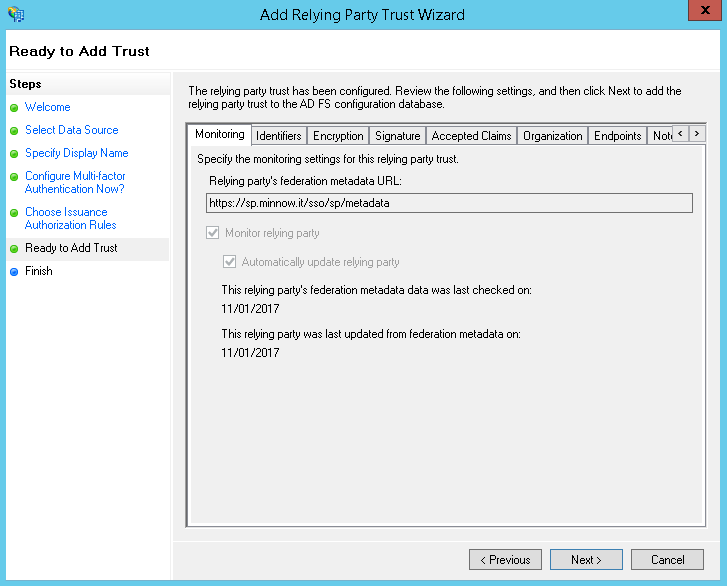
You can confirm the configuration that has been obtained from the metadata URL by using the tabs in the Ready to Add Trust dialog. When you are ready to proceed, click Next
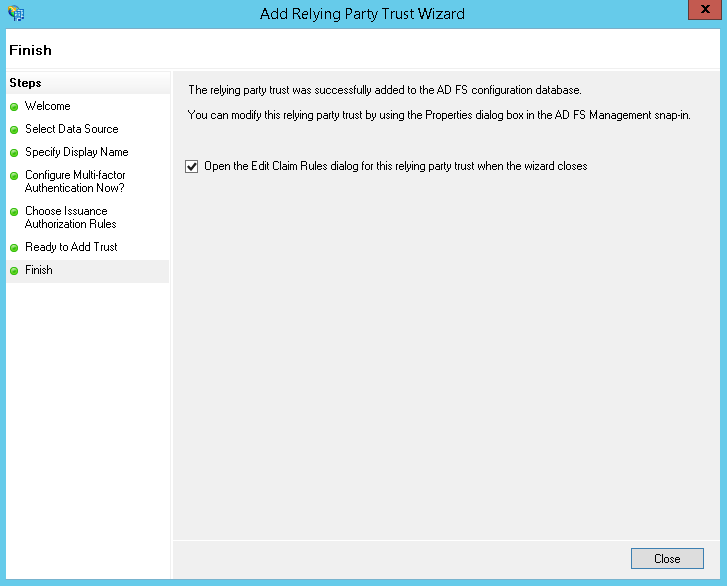
Leave ‘Open the Edit Claim Rules..’ checkbox ticked and click Close.
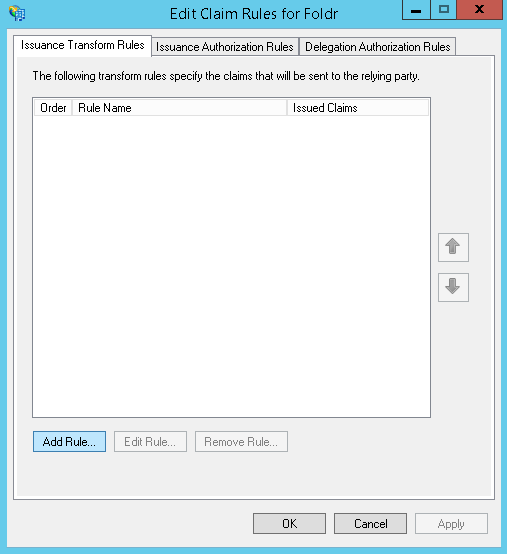
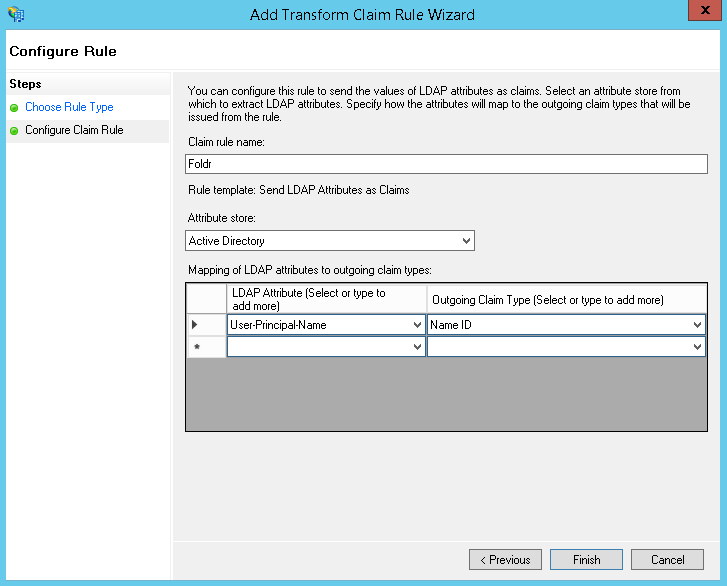
4. Configure the Claim Rules for Foldr
Click ‘Add Rule‘ on the Issuance Transform Rules tab
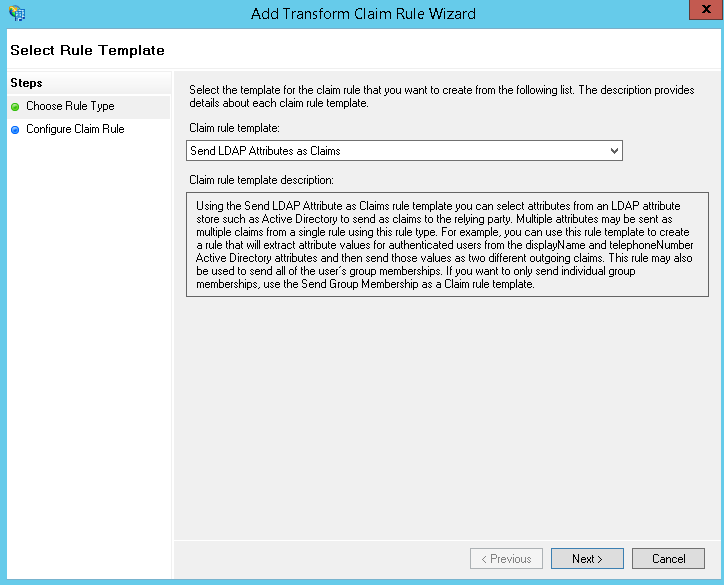
Select ‘Send LDAP Attributes as Claims‘ from the template drop-down menu
- Enter a suitable Claim rule name
- Select ‘Active Directory‘ from the Attribute store
Finally, map the LDAP Attribute ‘User-Principle-Name‘ to Outgoing Claim Type of ‘Name ID‘ >> Click Finish
Single sign-on configuration should now be complete. If a user visits the Foldr appliance URL and they are not signed into AD FS they will be redirected to the AD FS sign in page. In the event that the user is already signed into AD FS, they should automatically log into Foldr and be presented with their shares.
If the administrator has enabled ‘Prompt users for network credentials‘ in the Foldr Single Sign-On >> Service Provider configuration screen, the user will see the following prompt the first time that they sign in automatically by SSO.
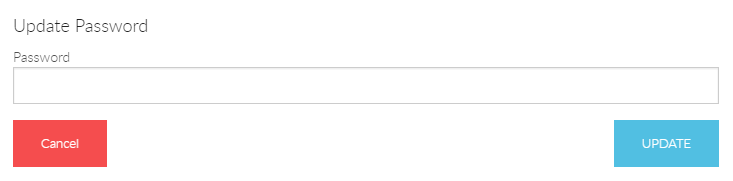
Update Password dialog
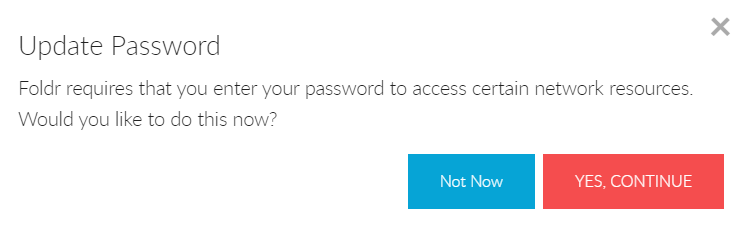
Pop-up dialog to allow user to provide Foldr with their AD password
Should the user cancel the dialog and not provide the password, they will be prompted to provide it the next time they sign in. The user is able to change or update their Active Directory password at any time using the Security Settings menu in the Foldr web app.
Single Sign-Out
It is possible to configure AD FS and Foldr so that if a user signs out of Foldr web app, they can also be signed out of AD FS. Without taking these additional steps, if a user signs out of Foldr, they will automatically sign back into the web app as they are still signed into the IdP (AD FS).
AD FS requires a SAML sign out request to be signed, so the first step involves generating a signing certificate in Foldr Settings >> Single Sign On >> Service Provider. Navigate to the ‘Signing‘ section and click Re-Generate Certificates.
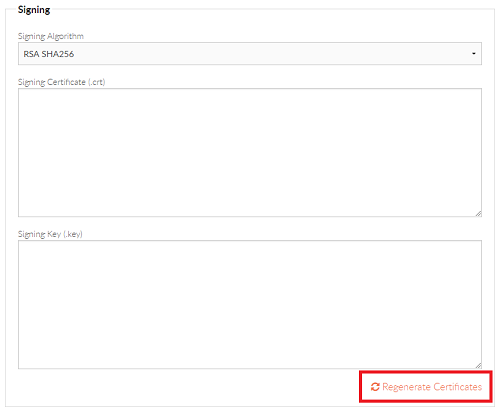
Click Yes, Regenerate
The signing certificate is generated and the certificate fields will be populated
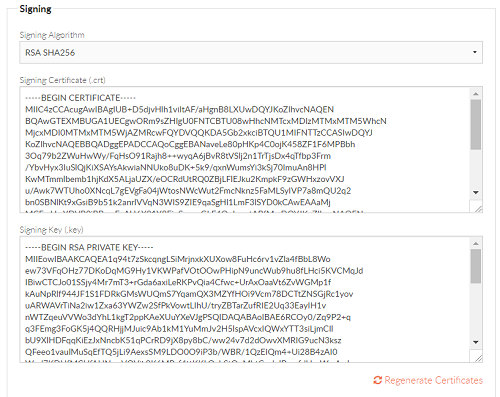
Click Save Changes at this point.

You are now required to install your newly generated signing certificate into AD FS.
Highlight the certificate string within the ‘Signing Certificate (.crt)’ box and copy this into a text editor such as Notepad.
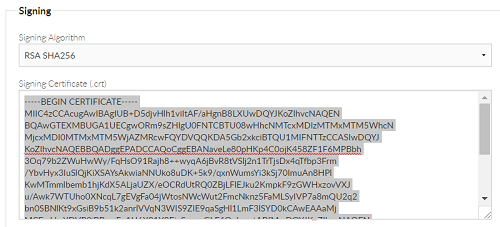
Save the file in .cer format, and save it somewhere accessible to the AD FS server.
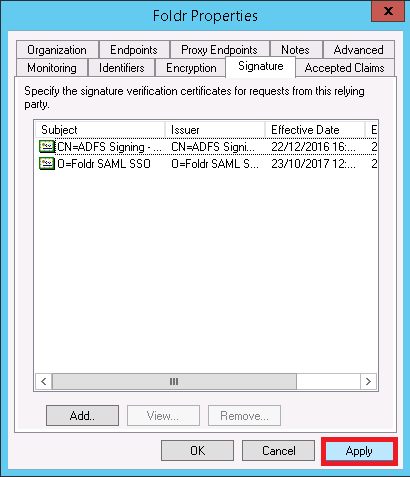
Back on the Windows Server, inside AD FS Management, navigate to the Relaying Party Trust for Foldr and into the Signature tab. Click Add (note the default AD FS signing certificate will already be shown here)
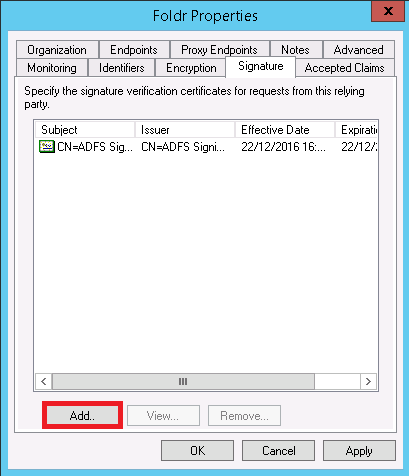
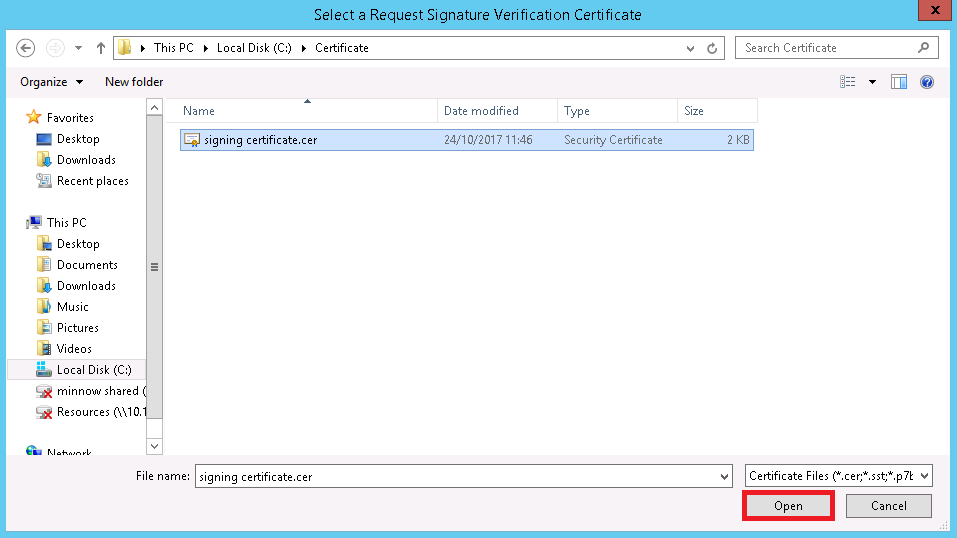
Browse to the .cer file saved above and click Open
The Signature tab will show the newly installed signing certificate that will be used to verify the sign out request. Click Apply or OK
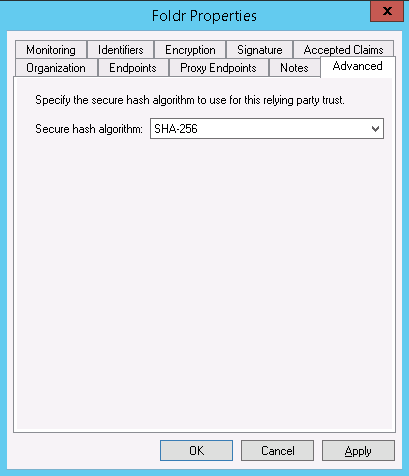
You should verify within the Advanced tab that the hashing algorithm being used matches what is being shown in Foldr Settings when we clicked regenerate certificate. In this case we are using SHA-256 rather than SHA-1.
Navigate to Authentication Polices > Per Relying Party Trust and edit the properties for the item relating to Foldr in the main panel.
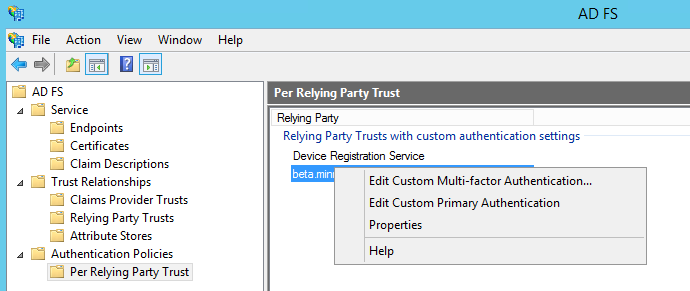
Click Properties and check the box labelled ‘Users are required to provide credentials each time at sign in‘
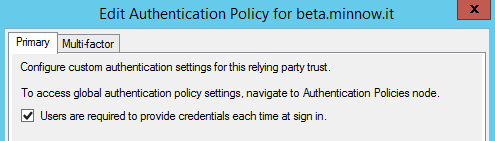
Click OK.
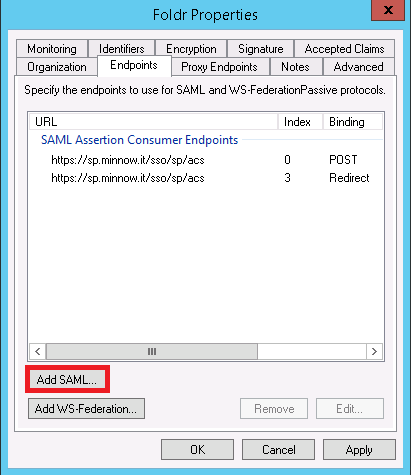
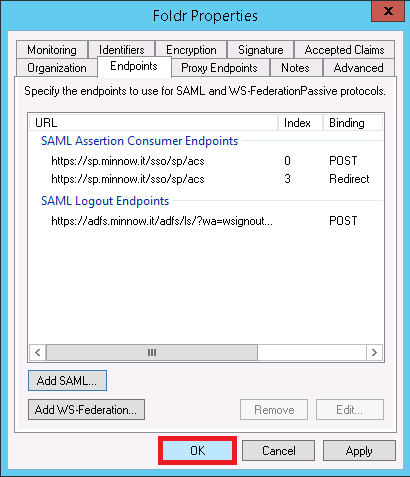
You are now required to configure the SAML logout endpoint in AD FS. Navigate to the ‘Endpoints‘ tab and click ‘Add SAML‘
Select SAML Logout as the Endpoint type
Select POST as the Binding
Enter the URL of the AD FS server appending /adfs/ls/?wa=wsignout1.0
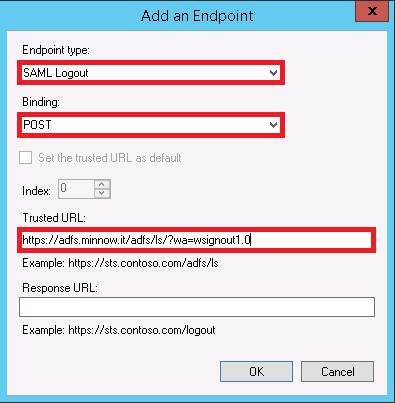
Click OK
You must now configure the sign out URL in Foldr Settings >> Single Sign-On >> Service Provider. Example settings are shown below.
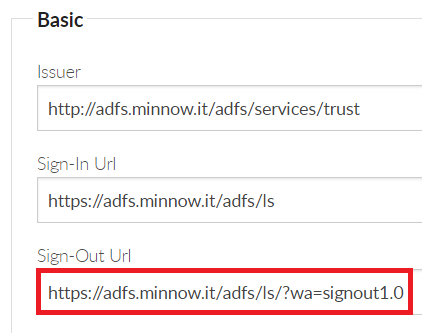
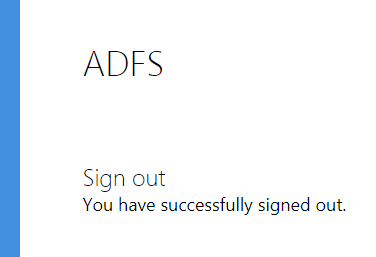
Click Save and the SSO sign out configuration is now complete. Users should be able to sign out of the web app, where they will be redirected back to AD FS and are shown that they are completely signed out of the IdP.
Automatically Redirecting All Users
By default, Foldr will require a user to enter their username to determine if they are a local or Active Directory user. When the user is identified as an Active Directory user, they are redirected to the IdP login screen (AD FS in this case). The administrator can remove this step by automatically redirecting users to AD FS by enabling the setting shown below. This toggle is available in Foldr Settings >> Single Sign-On >> Service Provider
![]()
App Compatibility
AD FS (or any other IdP) is supported in all Foldr apps – web, mobile and desktop providing the ‘web sign-in’ feature is enabled on the server within Foldr Settings >> Devices & Clients. Note that web sign-in is ON by default for all app types.