The Foldr server provides support for a Teams integration which provides the user with a file picker to upload files to Teams channels ‘Posts’ from any storage avaiable via Foldr.
This feature leverages the Azure Bot services functionality in Microsoft Azure. The setup process requires the admin to create an Azure Bot object and plug the client ID and secret/key from Azure into the Foldr server before users can make use of this feature. When the integration is complete, a Foldr app icon is available in the Posts/Conversation interface (at the bottom of the Office 365 Teams UI) to launch the picker:
![]()
Prerequisites
1. The Office 365 integration steps must have been completed – either using manual or automatic account linking to associate on-premise Active Directory users to their Office 365 account. Paying attention to any additional Azure Graph permissions requried for Teams.
Note – Manual linking is recommended when accessing SharePoint or Teams via Foldr so users receive their ‘true’ permissions configured in Office 365. Automatic linking uses a service account for all access and at the time of writing this article, the Microsoft APIs do not allow for true user impersonation when using service accounts.
2. A share must be added for users in Foldr Settings > Shares & Storage using the storage address %teams%. Users should be able to access their Teams channels / documents in Foldr successfully before attempting to use the Foldr File Picker.
Enabling and Configuring the Integration
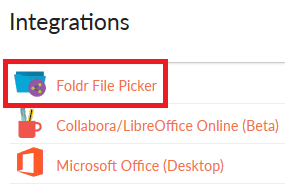
1. Log into Foldr Settings and enable the Foldr File Picker within Integrations > File Picker
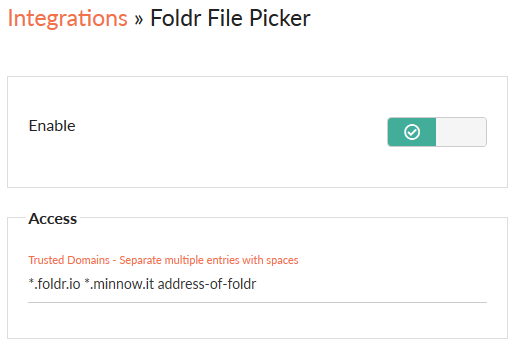
2. Enable the file picker service and add the public FQDN of Foldr to the Trusted Domains list (‘address-of-foldr‘ is being used in the example below, replace with the correct URL) and click Save Changes
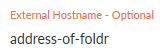
3. Configure the same public FQDN under Appliance > Network > External Hostname
4. Adjust the HTTP Headers configuration within Customise > HTTP Headers as shown and click Save Changes

To aid quick configuration via copy/paste, the dialog above contains:
Content-Security-Policy: default-src 'self' 'unsafe-eval'; img-src https: data:; style-src 'self' 'unsafe-inline'; frame-ancestors 'self' https://*.microsoft.com;
5. Log into https://portal.azure.com using an administrative account, click + Create a Resource and search for and click on ‘Azure Bot‘
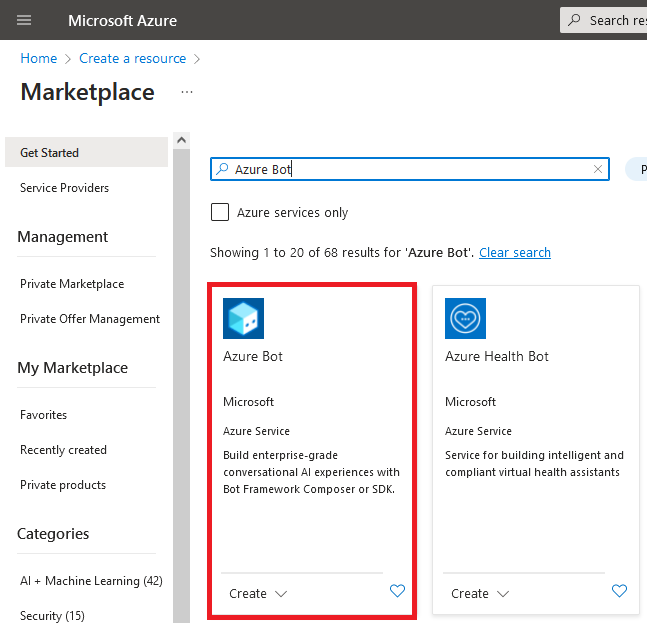
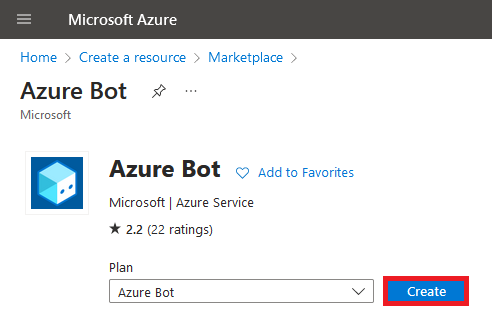
6. Click Create
7. In the Create an Azure Bot panel, complete the required fields, giving the bot a suitable handle, selecting the Azure subscription, Resource Group etc.
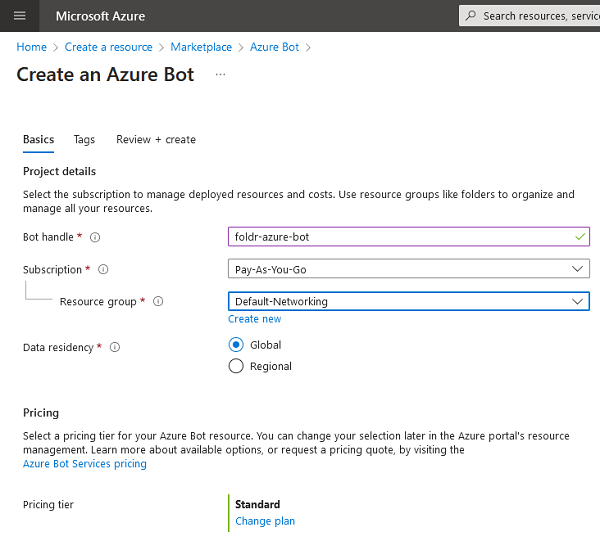
8. Under the Pricing section, click Change Plan
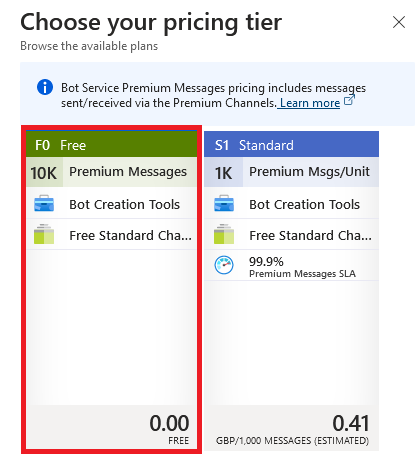
9. Select the ‘Free’ tier
10. Under the Microsoft App ID section, select Multi Tenant
11. Click Review + Create

12. The Azure Bot summary screen will be displayed.
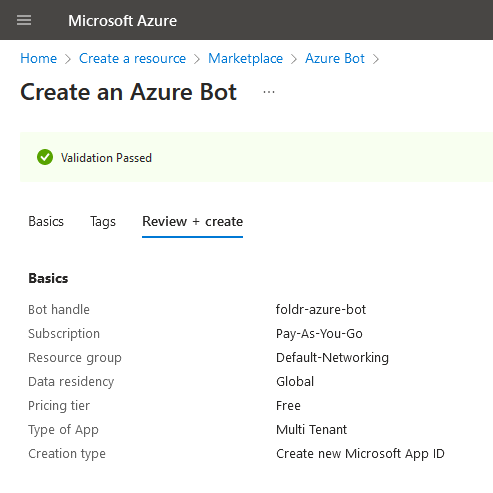
13. Click Create
![]()
14. The deployment status screen will be displayed and after a few seconds a success message should be displayed. Click Go to resource
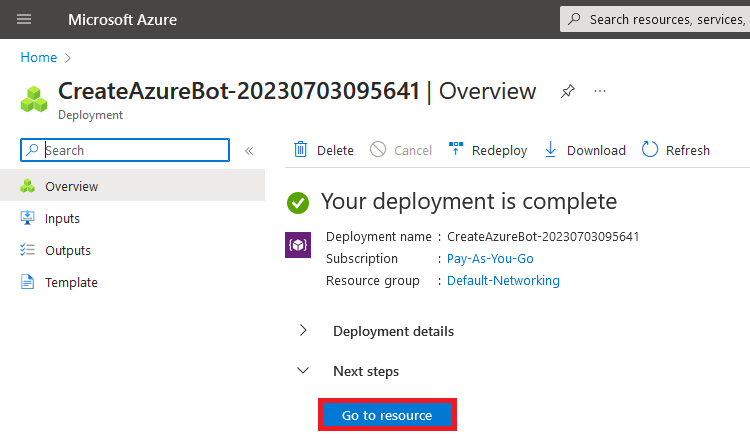
15. The bot configuration screen will be displayed. Click Channels
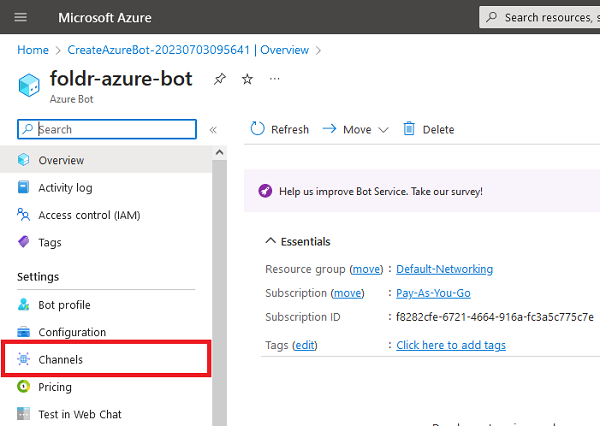
16. Scroll down and select Micosoft Teams
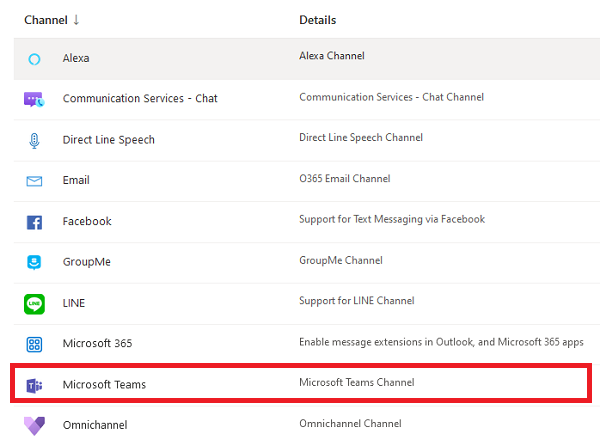
17. Agree to the Terms of Service using the check box and click Agree

18. On the Messaging tab, leave the selection at default as shown below
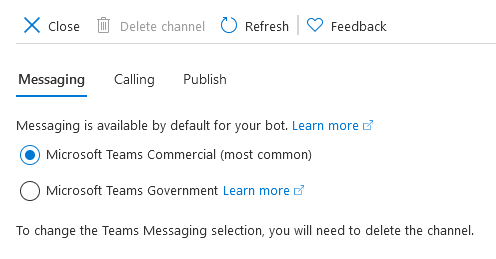
19. Click Apply
![]()
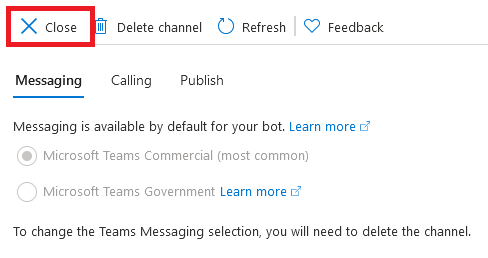
20. Click Close
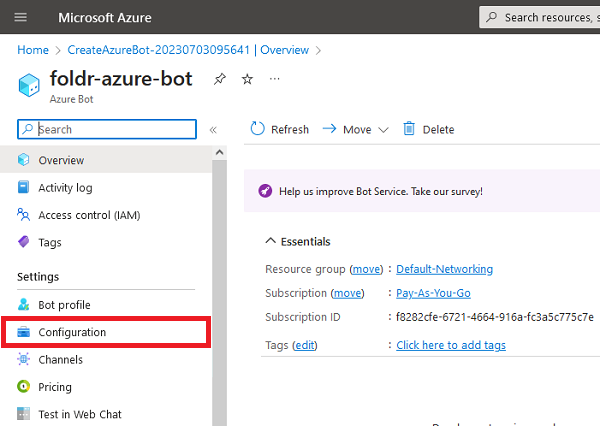
21. Click Configuration on the left hand panel
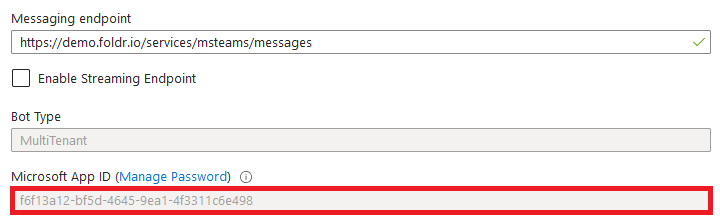
22. The ‘Messaging Endpoint’ on the Configuration screen should be configured as below:
https://address-of-foldr/services/msteams/messages
Replacing address-of-foldr with the public FQDN of the Foldr installation. demo.foldr.io is used in the EXAMPLE below
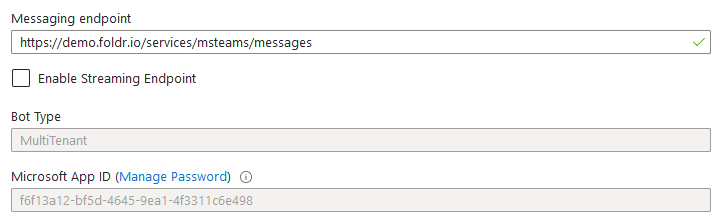
Take a copy of the Microsoft App ID and store this elsewhere (text editor / notepad for example) as this will be required later in the setup process
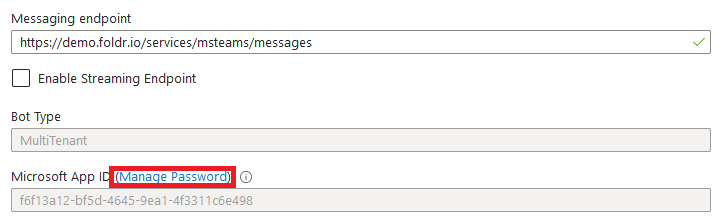
23. Click Manage Password (below the Messaging endpoint field)
24. The Certificates and secrets panel will be displayed. The existing client secret shown can be deleted.
Click + New client secret
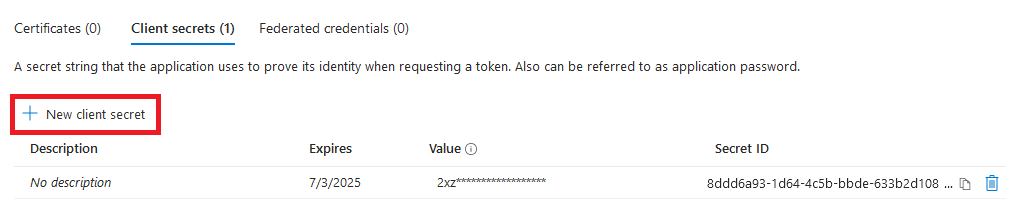
25. Give the secret a suitable name and expiration date
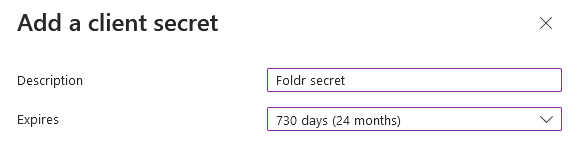
26. Click Add
![]()
27. Take a copy of the key VALUE using the button highlighted. This is only shown once so and it will be required later in the setup process.

28. Sign into Foldr Settings and navigate to Integrations and select Microsoft Teams
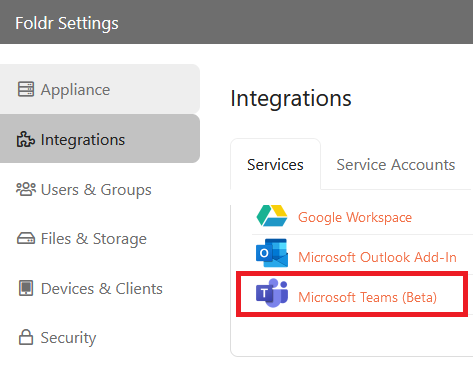
Enable the integration using the toggle
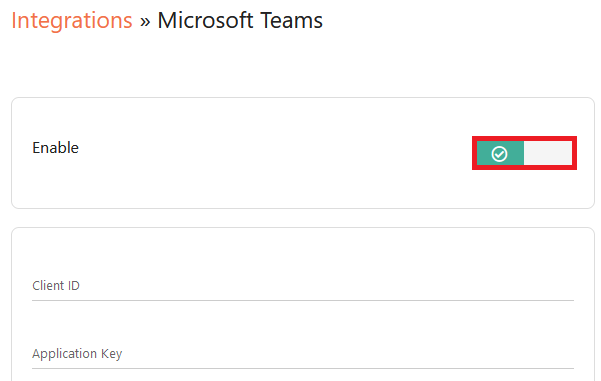
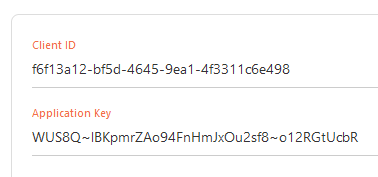
Populate the Client ID and Application Key fields with the values taken earlier in the Azure portal.
Microsoft App ID = Client ID
Client Secret = Application Key
29. Click SAVE CHANGES

30. Click Download App

31. Click the DOWNLOAD APP button shown at the bottom of the screen. This will generate a .zip file which is will be needed at the next step – save this to the local desktop.

The Foldr app for Microsoft Teams is now ready to be deployed. This can either be done centrally in the Microsoft Teams Admin Center and added to Teams Channels centrally (recommended), or users or an admin can upload custom apps using the .zip file to channels so they are available in the Teams user interface using the Apps button. Controlling use of the Foldr app via the Admin Center is recommended.
Adding the Foldr app to Channels centrally using the Teams Admin
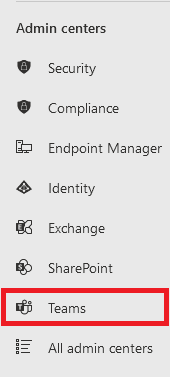
From the Microsoft 365 admin center at https://admin.microsoft.com select Teams under All Admin Centers
Select Manage apps
Select Teams apps
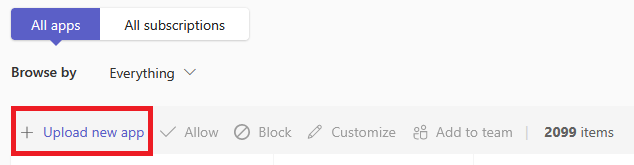
Select + Upload new app
Click Upload
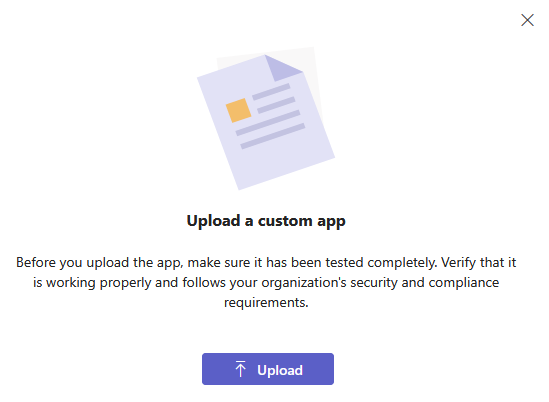
Browse to the foldr-for-teams.zip file that was downloaded from Foldr Settings earlier
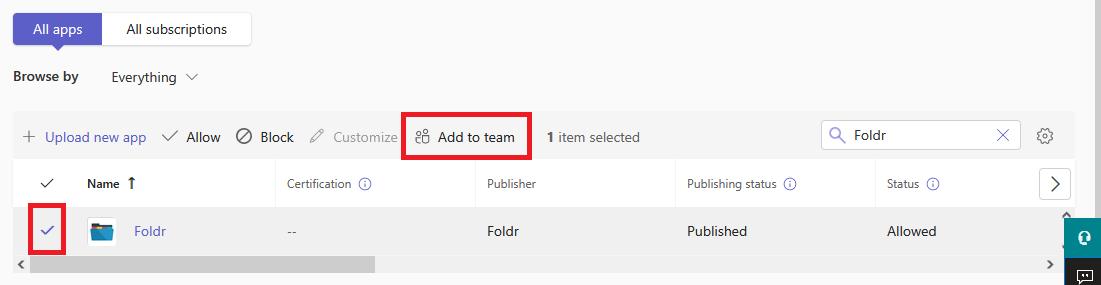
Back under the Teams apps list, search for Foldr, select it using the checkbox and then use the Add to Team button as highlighted below.
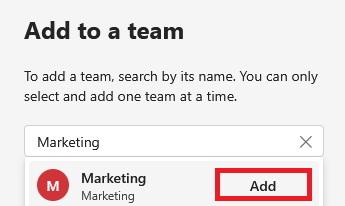
Search for the Team that you wish to use with the Foldr file picker and click Add
A success message is shown briefly at the top of the UI.
![]() \
\
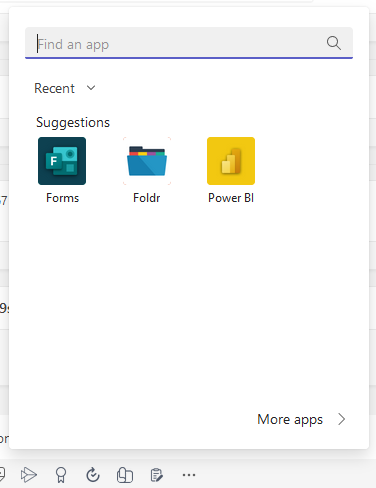
The app has now been added to Teams. From the main Teams app > Channels > Posts interface, Foldr will be accessible as a custom app via the menu at the bottom of the screen.

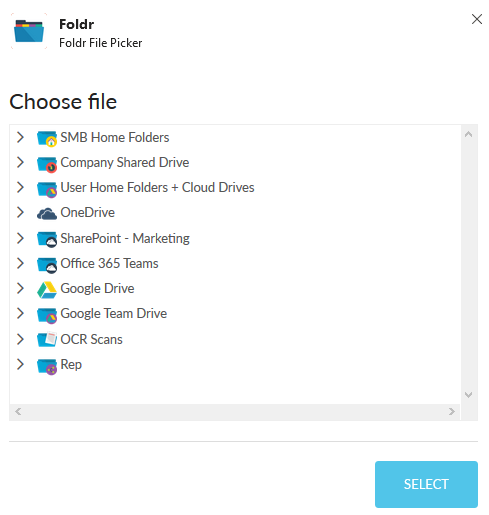
This will then display the Foldr file picker. If the user will first need to sign in to access any storage presented via Foldr. Once signed in, the app will not require the user to sign in again until the usual Foldr web app timeout has expired.
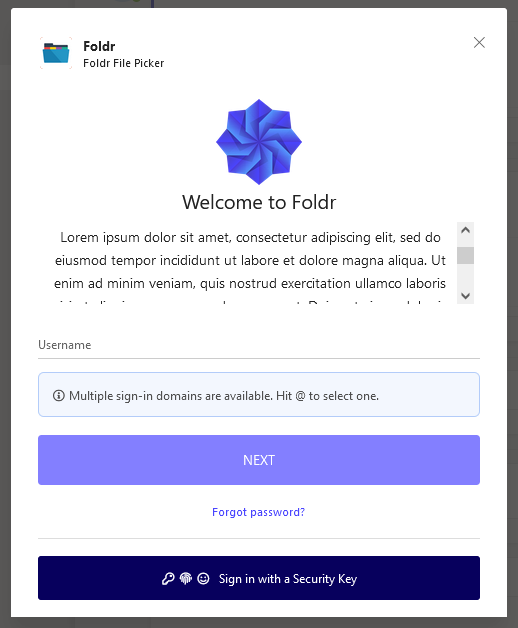
Select a suitable storage item / share and browe to the file to insert into the Teams post
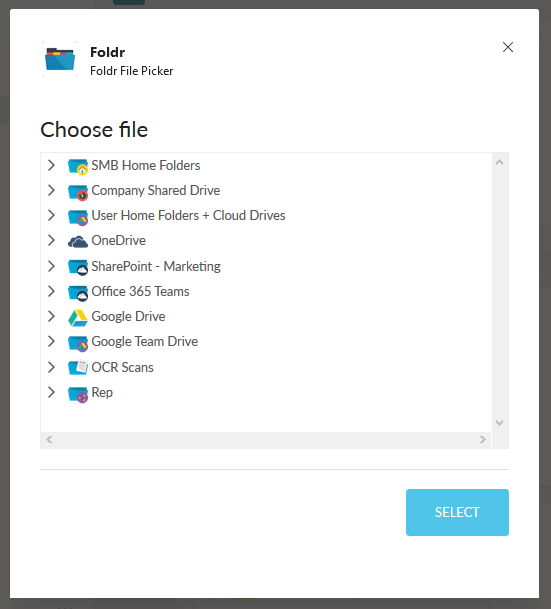
Expand the storage location and sub-folders to select the file to be uploaded to the Teams channel. Click Select
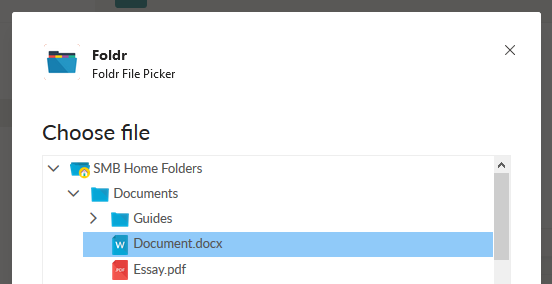
The file will be uploaded and available to users in the Teams interface.